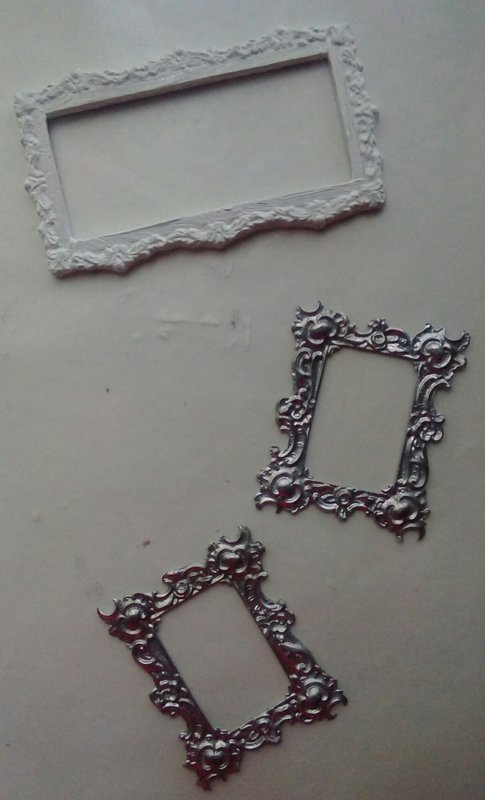
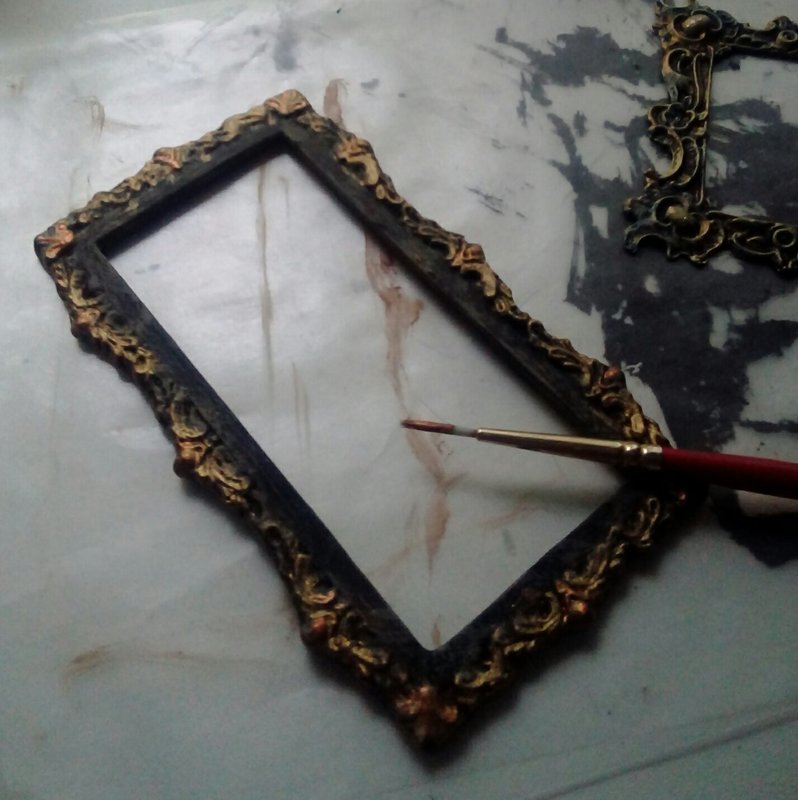
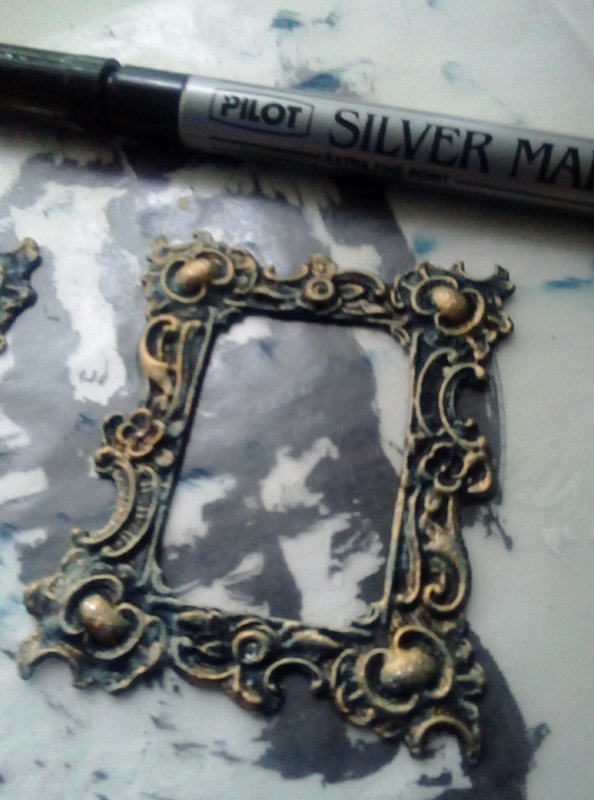
 I recommend Micromark Casting Sets for both Resin & Metal. I will be showing that it matters little which material you prefer to use. This is English Crown Pewter & Plaster Resin removed from their molds. The originals were sculpted clay frames that were then used to create molds using materials found in the casting sets suggested above. 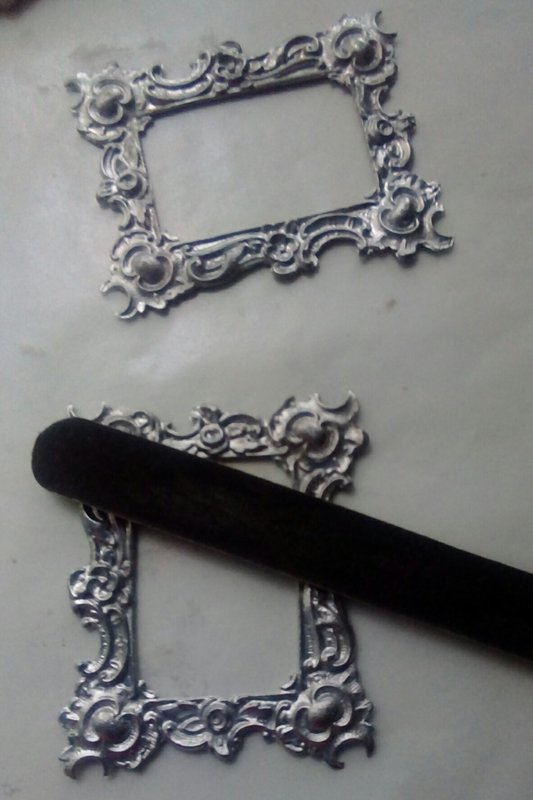 Using an emery board NOT A FILE to remove any nubbons or over-poured edges. It's important to be delicate here...a file will scratch & gouge the design. 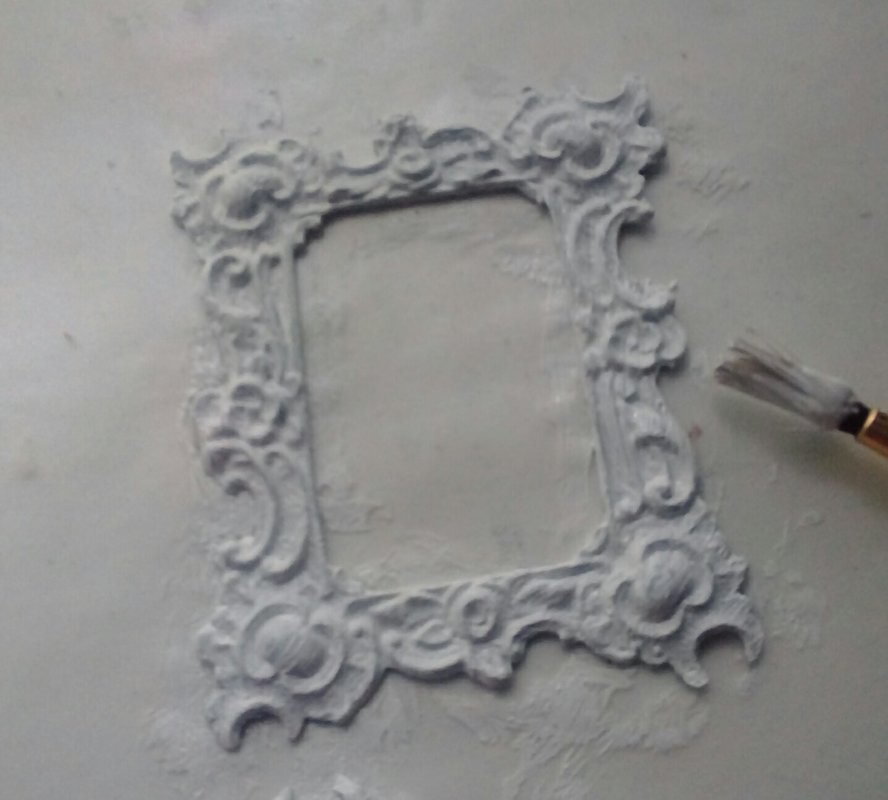 For the Pewter: Use acrylic (not latex) primer over the entire frame both sides, front-back & into the design. The painting steps need something to stick to! For the Resin: Straight out of the mold is fine. *Note: I'm using plaster resin which is plaster recipe on tub but instead of using water, I used resin.  ANY COLORS, literally. Can be coordinates, compliments, primary...doesn't matter. Waterbase Paints. You will need: A Dark (I'm using Black for both) A Medium (I'm using Navy -pewter & Brown -resin) A Light (I'm using Soft Yellow -pewter & Tan -resin) A Foil (I'm using Gold for both) A Leaf (I'm using Silver -pewter & Copper -resin) 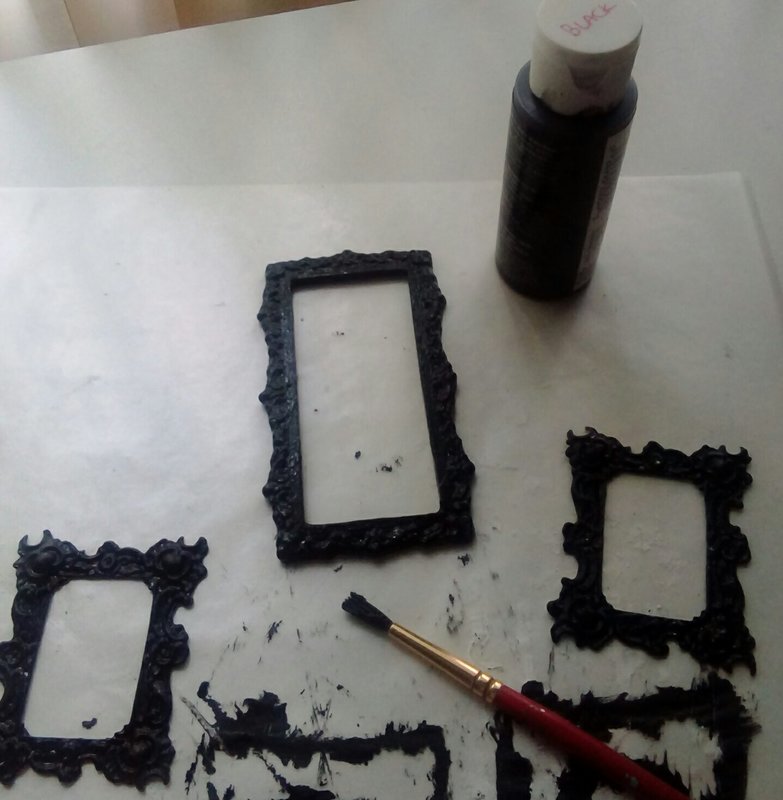 Paint entire front of the frame with the DARK color using a soft paintbrush to get into all the details. You may need more then 1 coat to cover all the primer. 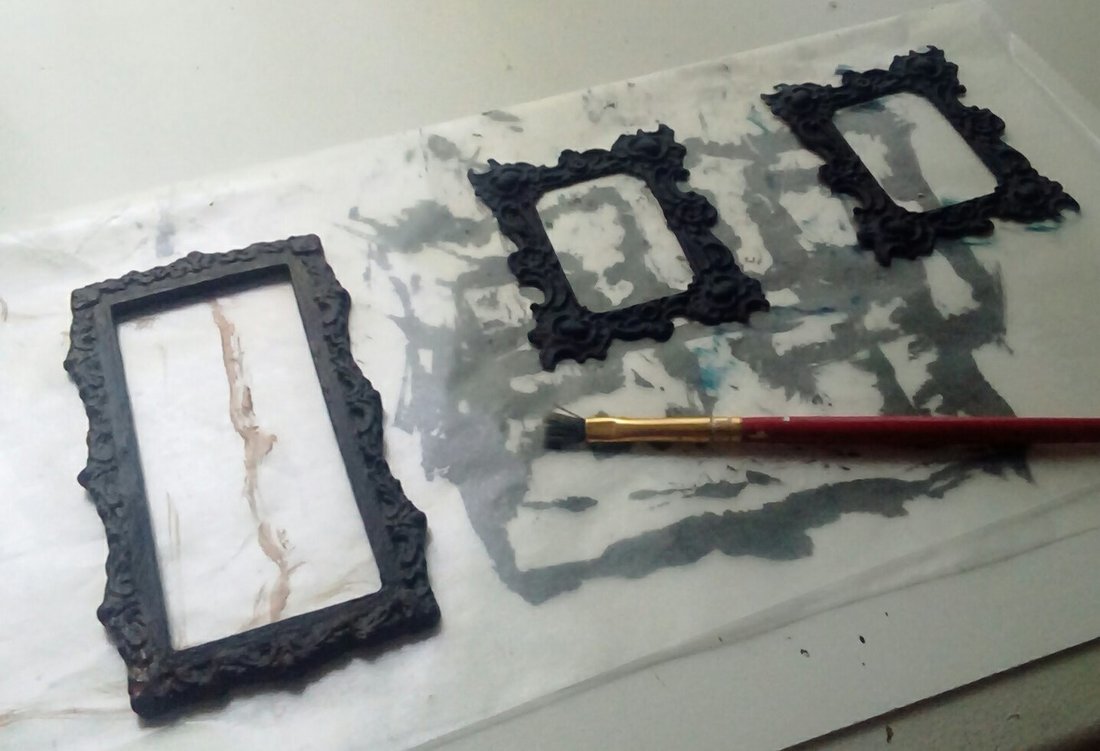 Using a standard brush, dry brush the frames with the MEDIUM color. *Leaving the DARK color showing in all deep parts of the design. 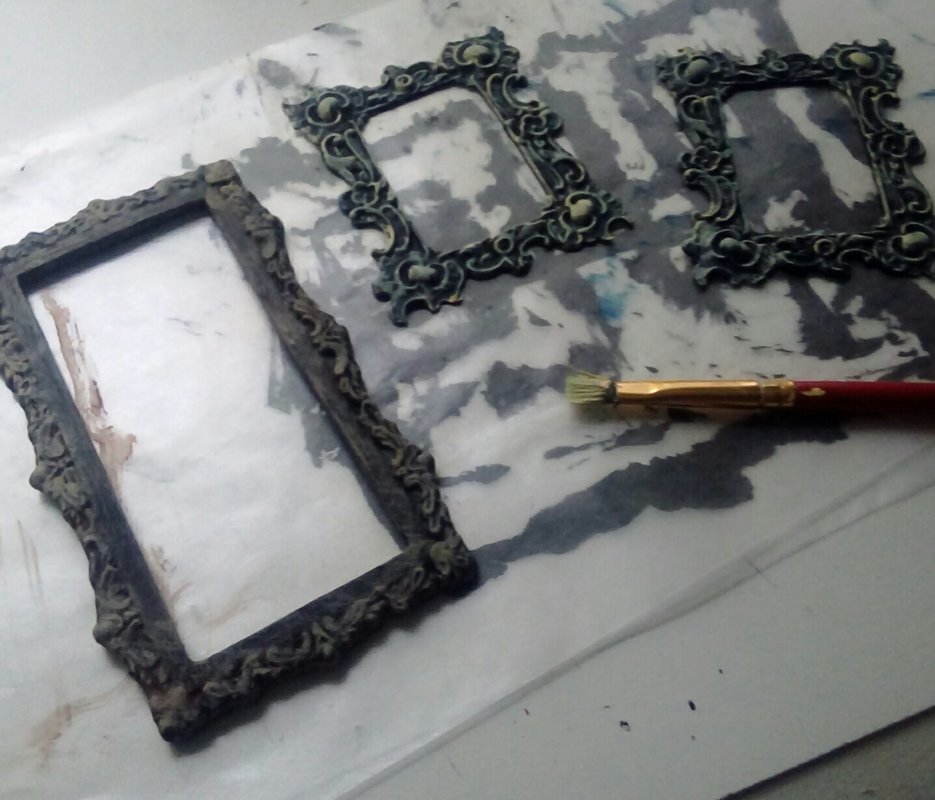 Using a medium stiff brush, dry brush the frames with the LIGHT color. Again leaving now the DARK & MEDIUM colors peeking through the design. 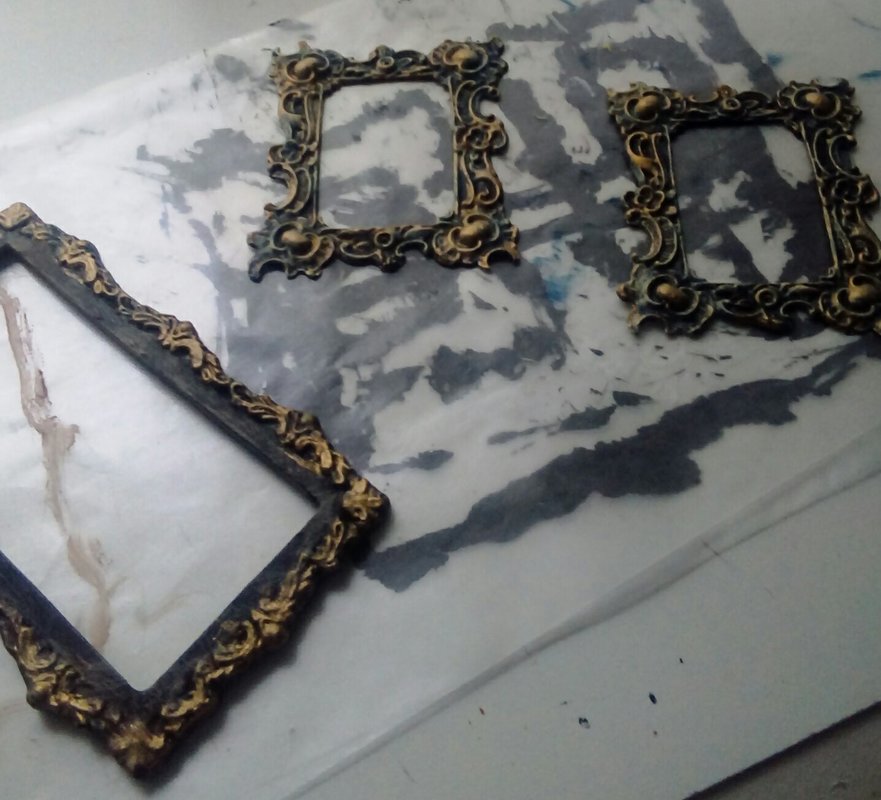 Using a stiff brush, dry brush across the top details of the design using the FOIL color. *It's not meant to be a layer of paint, just to catch & highlight details.
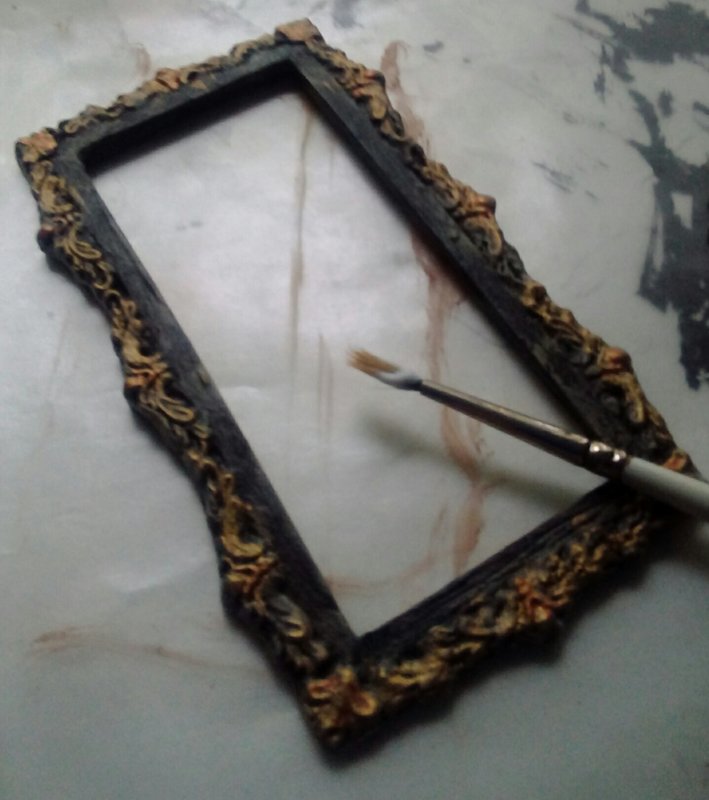 Sealing: DO NOT USE SPRAY SEALANTS, in this instance as they can have a chemical reaction to his particular painting method. You want to stay in the same mediums, so either acrylic based or water based. I'm using Acrylic Medium Matte. Using a super soft brush & very thin layer, as to avoid creating brush strokes or clumping. 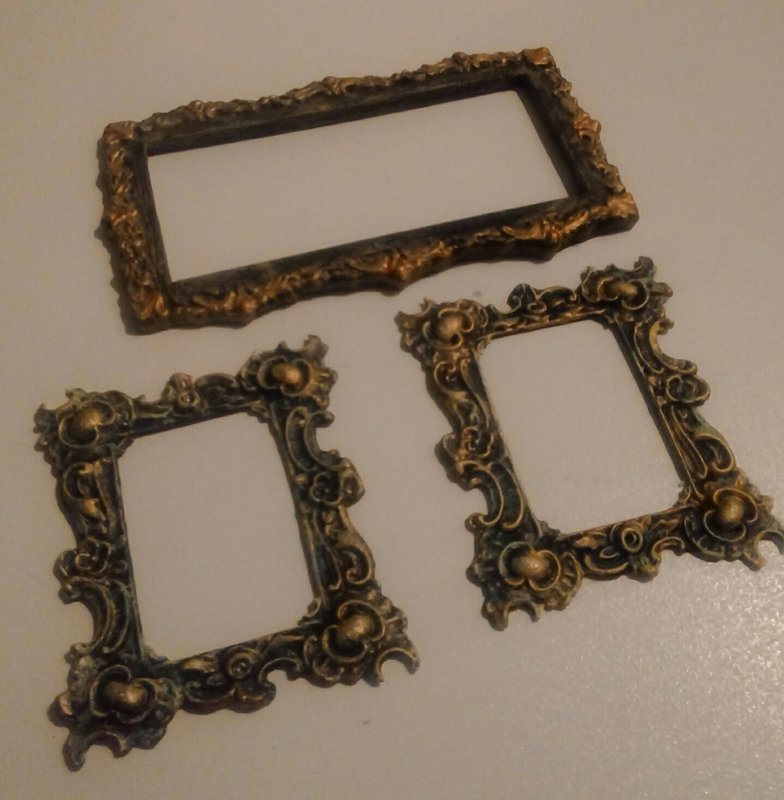 Finished Frames!
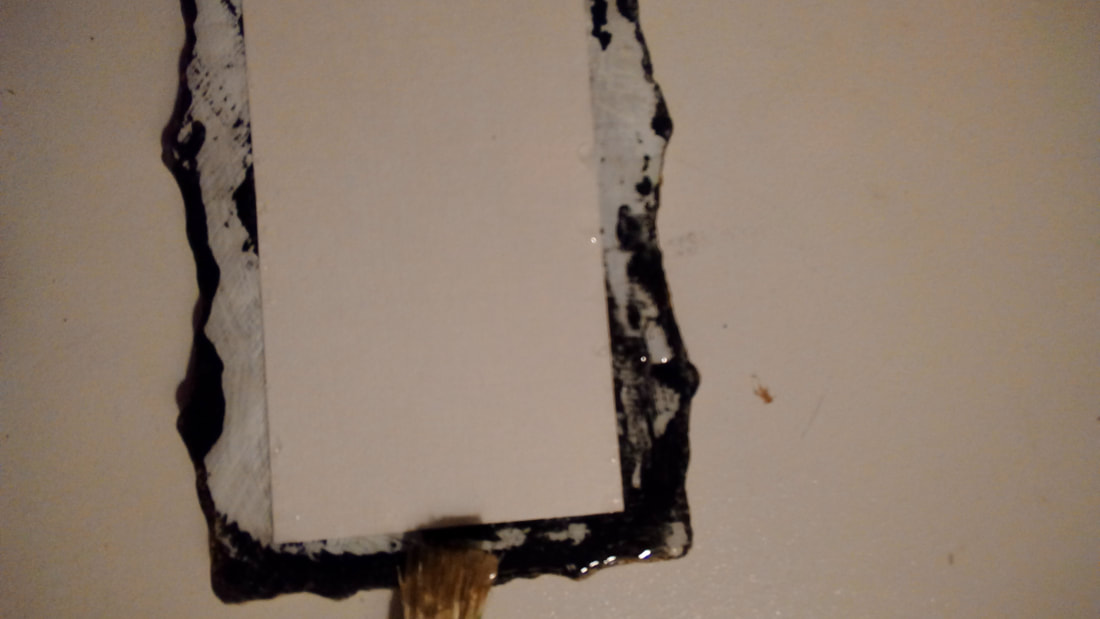
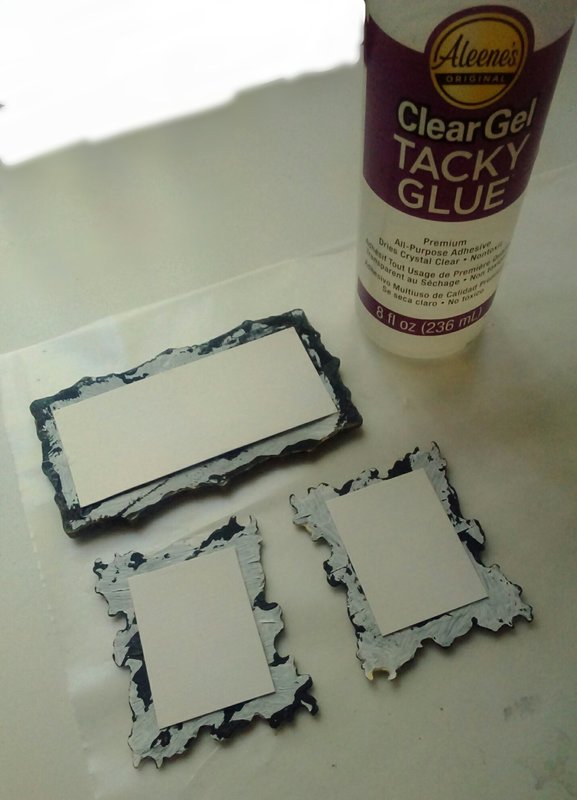
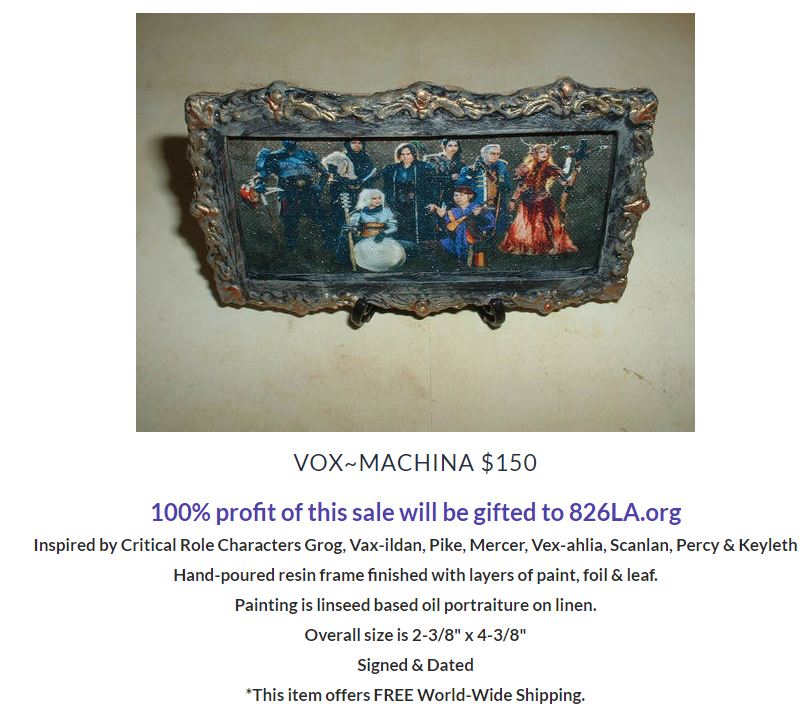
Note: For miniature oil paintings, I choose to paint on linen that has gesso on both sides to make it stiff but leaving the woven texture on the canvas side. I find artisan canvas to be too thick & weighty for miniature frames. Many artist create their miniature artwork on ivory or bone but I'm a Vegan & have never used animal parts in any aspect of my art. #GoVegan! ;) 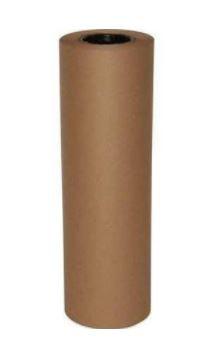 Backing: I use gallery kraft paper or if you're on a budget a paper bag works just fine too. Moving paper is a little too thick for miniature frames...it can bend a frame during the adhesive drying process.  Same ClearGel Ahesive using a stiff paintbrush cover the exposed rear of the frame, all the way to the edges but try to keep adhesive off your artwork. Turn your frame (so you can see your work) press all around the frame using your fingers to stick it to the backing paper. Rest a book over-top of them & leave to dry for 16 uninterrupted hours. 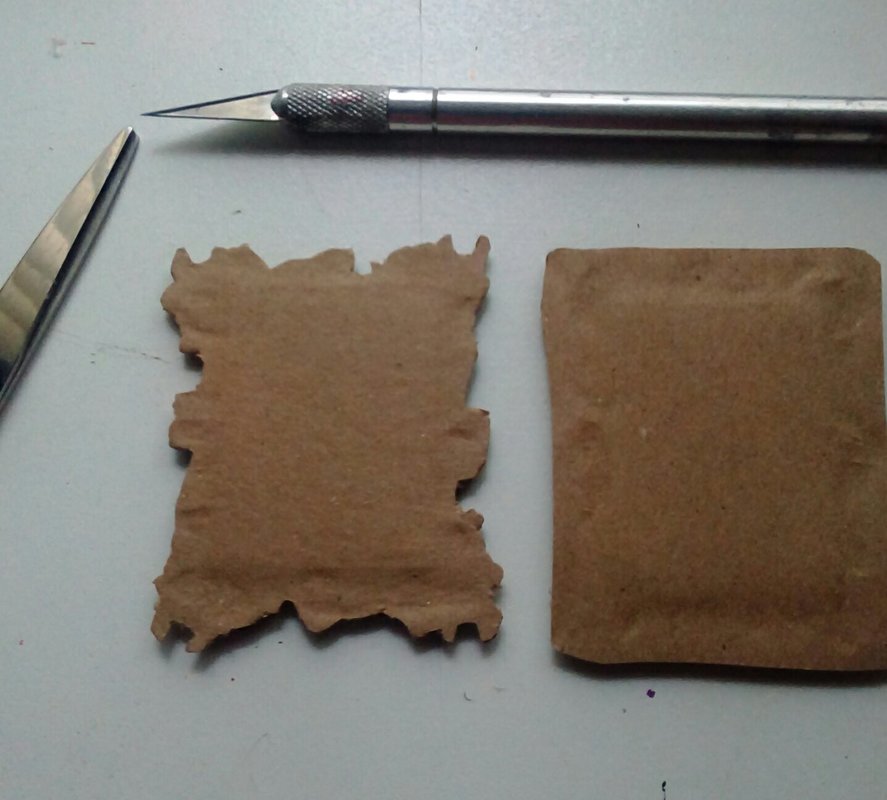 Using tiny scissors & a hobby knife remove excess backing paper. You want the entire rear of the piece to be covered but you should see any of the backing from the front of your framed artwork. I sign my work obviously but also sign & date the backing of each frame. You can also use an artisan stamp or brand at this point to finish. As part of value of your artwork is the original frame. It should never be an after thought, you should always consider the frame as part of the value. Consequently devalue a piece if the owner has re-framed a piece without your assistance.
0 Comments
|
Miss KRisFrom time to time I just like to play in the studio. Since the studio is not open to the public, I thought we could create something together here! Archives
September 2018
Categories |


 RSS Feed
