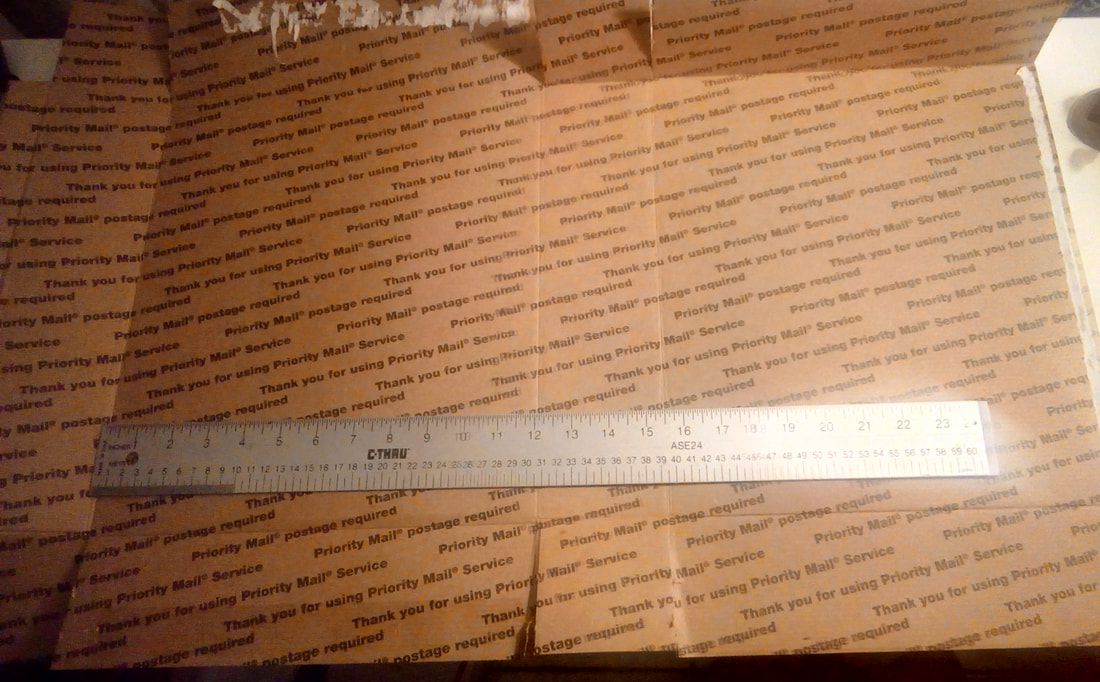
 Taking a USED medium flat rate postal box. Carefully open the glued tabs and remove as much of the mailing label & tape as you can but be careful not to rip into the cardboard. 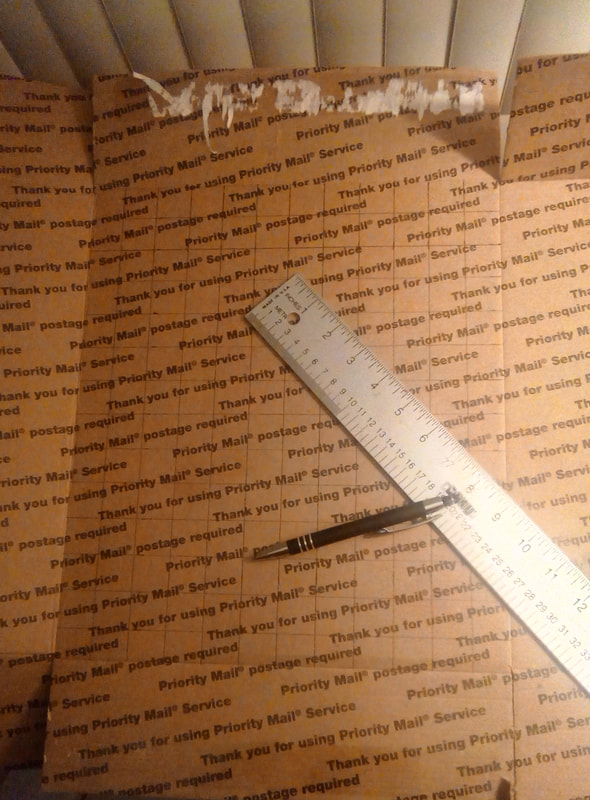 On the large inside panel of the shipping label side of the box draw a grid of 1" squares. It's nearly perfect but not to worry the outer squares will be somewhat obstructed by the finish on the walls so the inner grid will be the floor. 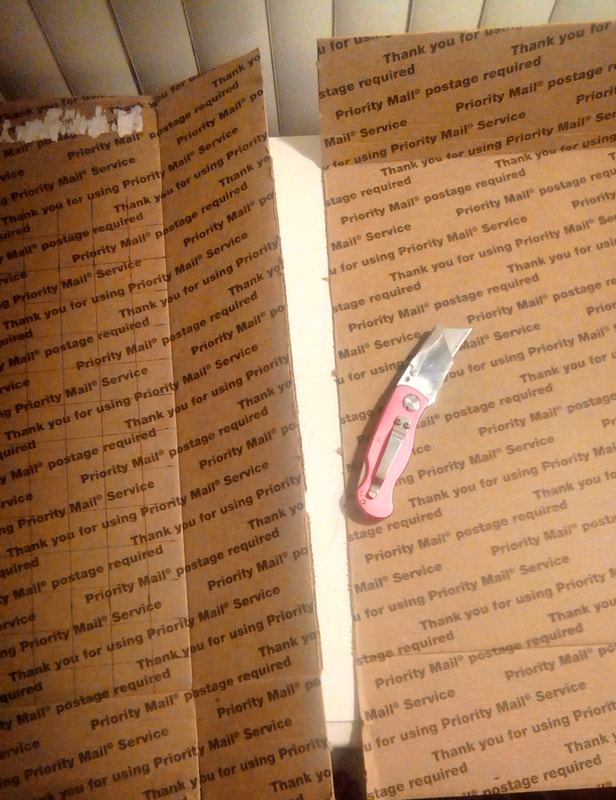 Cut the other large panel off. Note: leave the middle panel attached to the grid patterned piece! 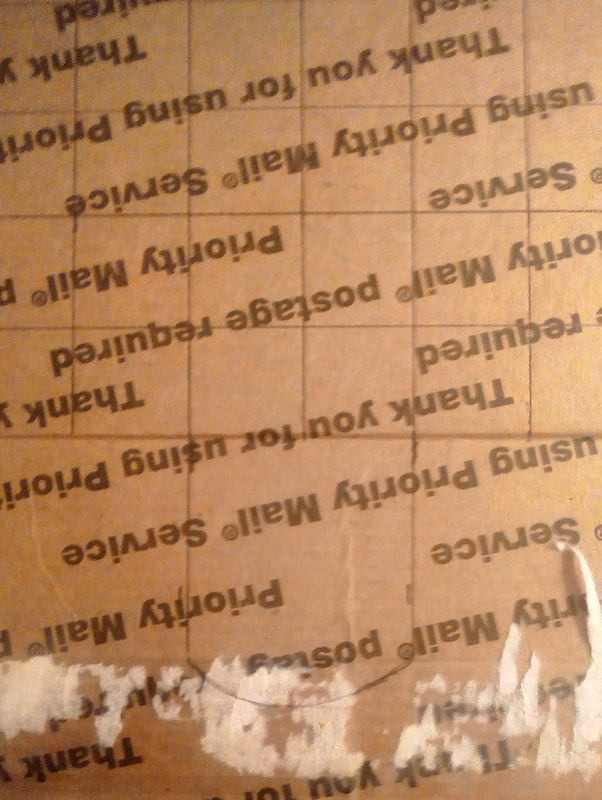 The grid panel is 12" wide so find the mid point line and draw a door way onto one of the side panels. 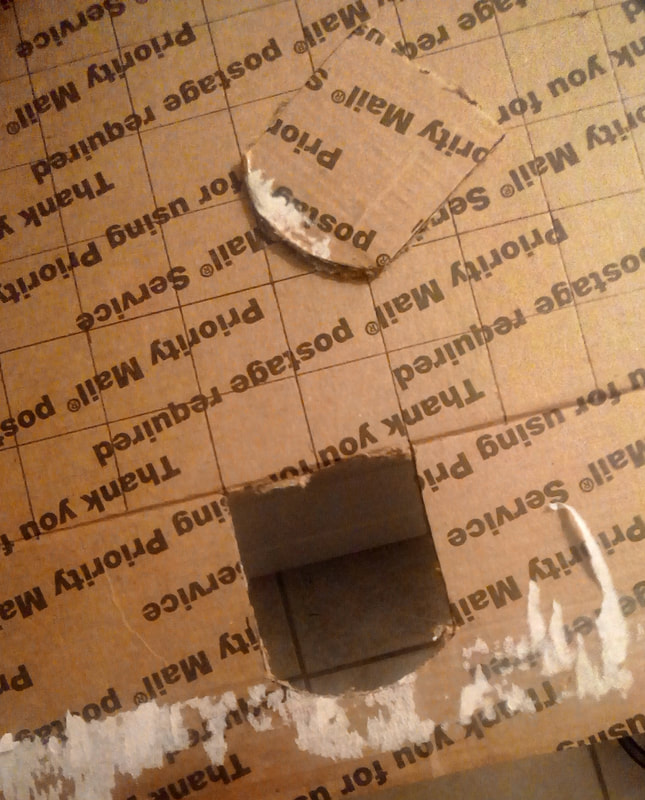 Cut out the doorway using a box cutter. 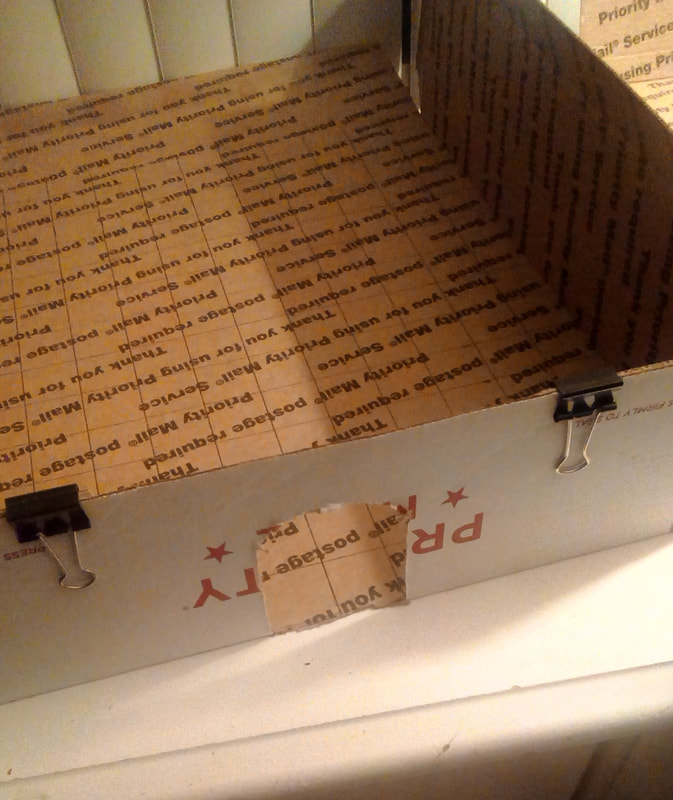 As if your closing the box back up. Glue the tabs & fold up the panel. Use clamps or paper clips to hold the short tabs to the long tab. 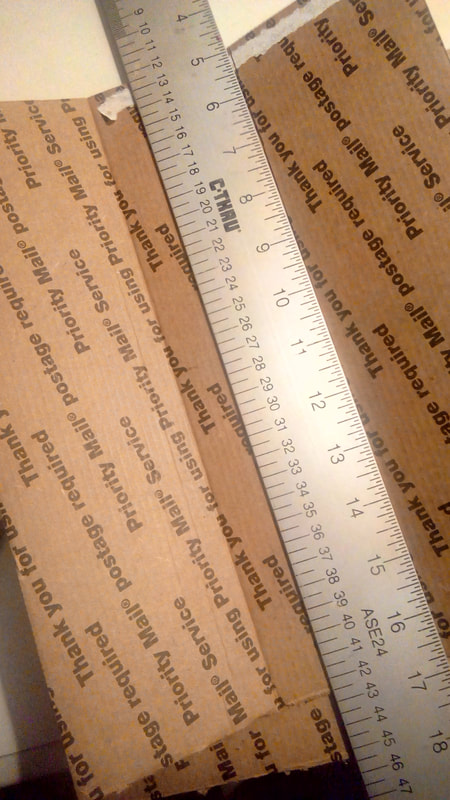 Taking the cut off panel. From the side panel fold measure 3" and fold a new line. Trim the excess to match the height of the box tab. 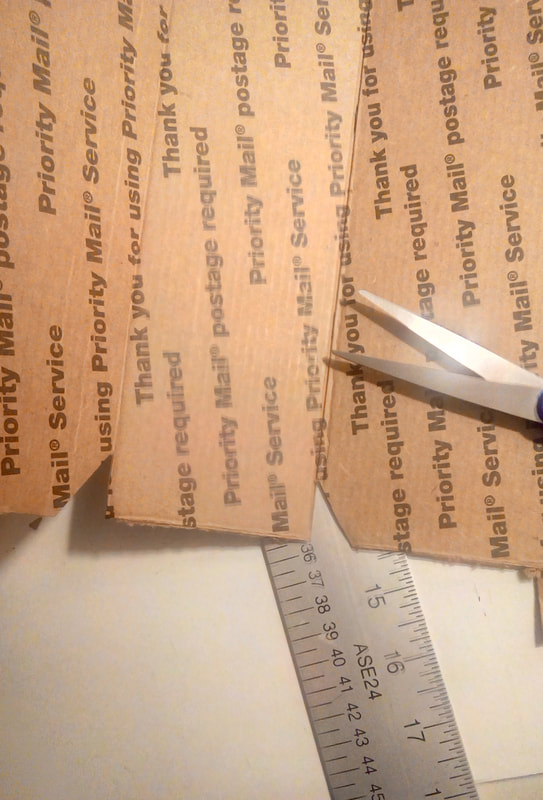 Using scissors cut little divots on either side of the 3" center of this new folded piece. 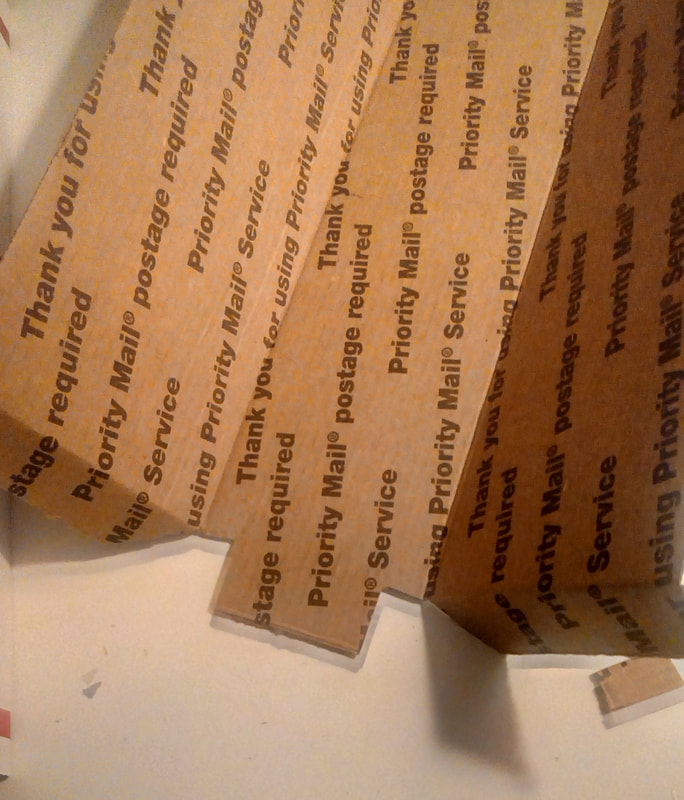 Fold back on the walls the width of the divots. The center 3" wide area find the center & measure out an inch on either side. This should match the width of the doorway opening. 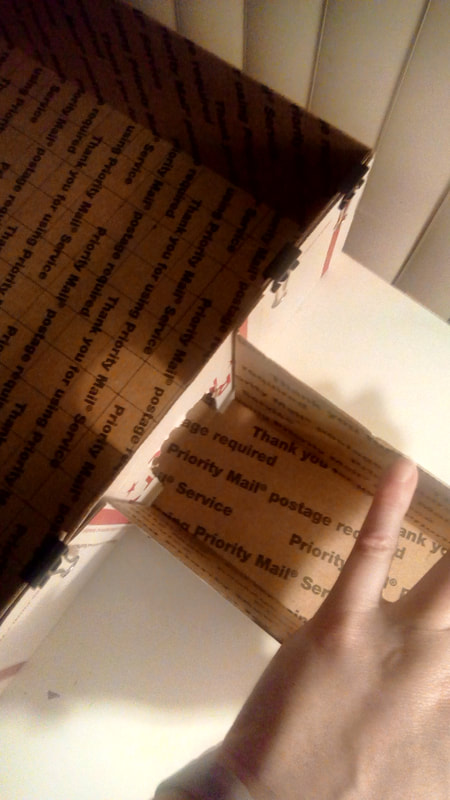 Glue the tabs and the opening of the doorway then press this new piece into place. 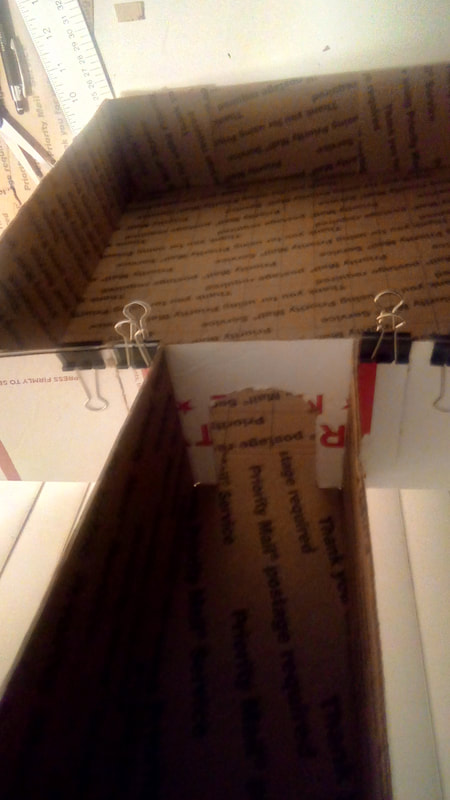 Again clamp to hold the piece until the glue dries. Creating the chamber entrance hall. 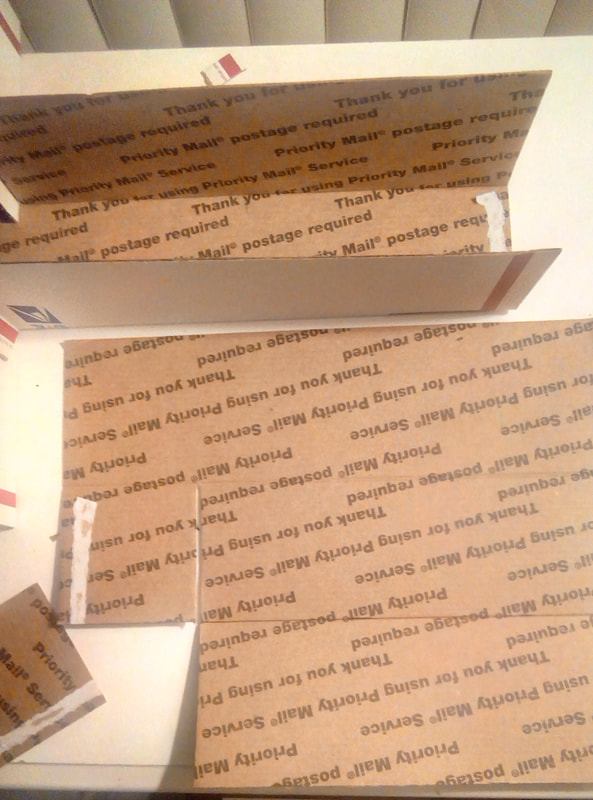 With the remainder of the box repeat the process of measuring 3" from the tab fold & create a new fold to make another. Cut off the left corner of this newly created piece. Cut into the 3" part a slot about 1/8" thick from the cut line & across the 3" part. Be careful not to cut into the other tab though. 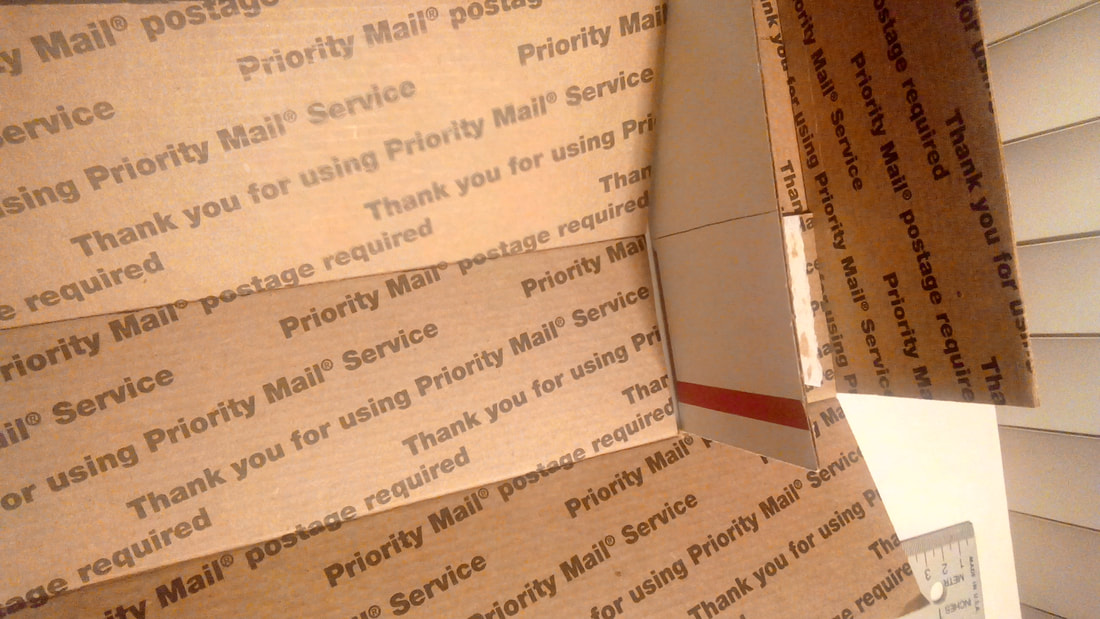 Slide the first "hall" exposed "wall" into this slot. Where it fits together draw a line up the side of the wall to line up with this new piece. 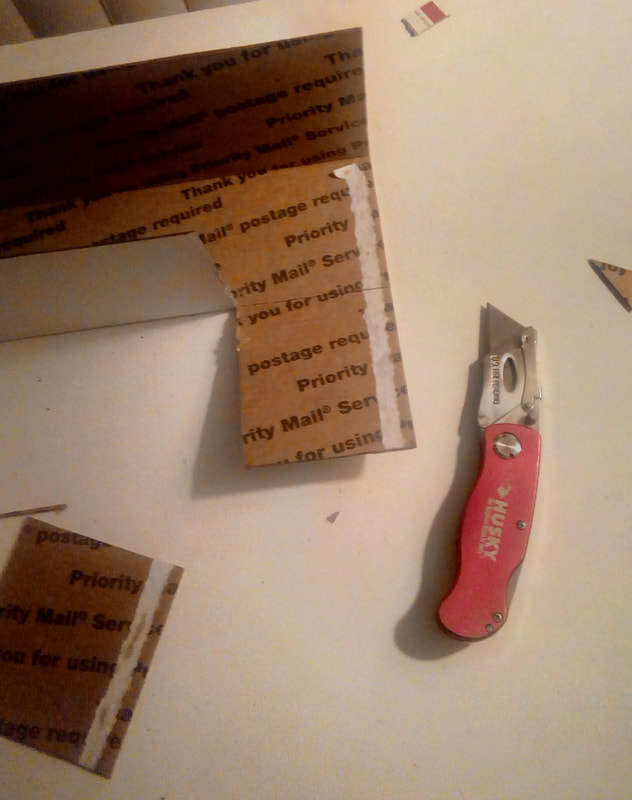 Remove the new piece temporarily and using a box cutter slice up the line and fold down that part of the wall. Do not cut off the piece! 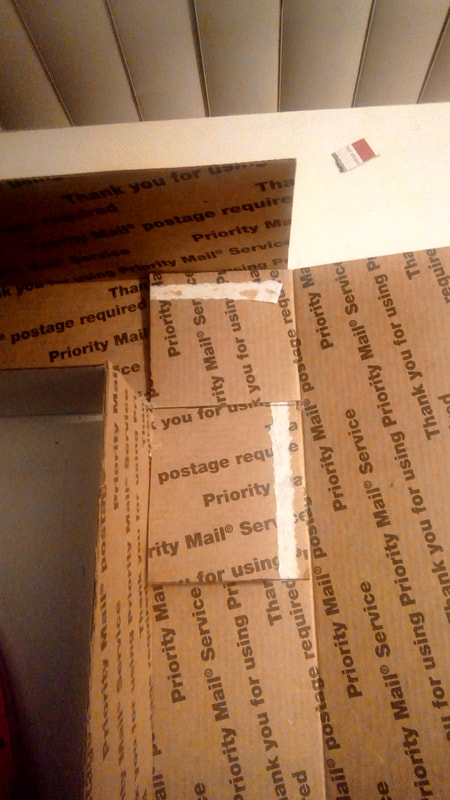 Move the newer folded piece back into place and fold the two flaps down to make sure this corner fits together well. Make any trims necessary just be sparing in how much you trim off. 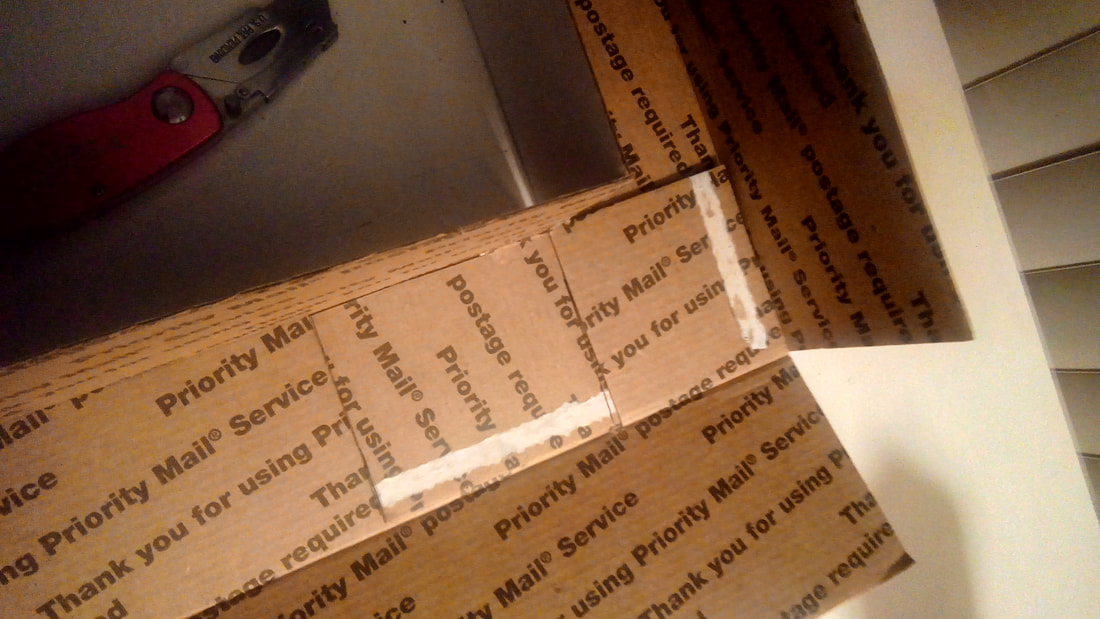 Glue the underneath of the tabs & adhere them down. 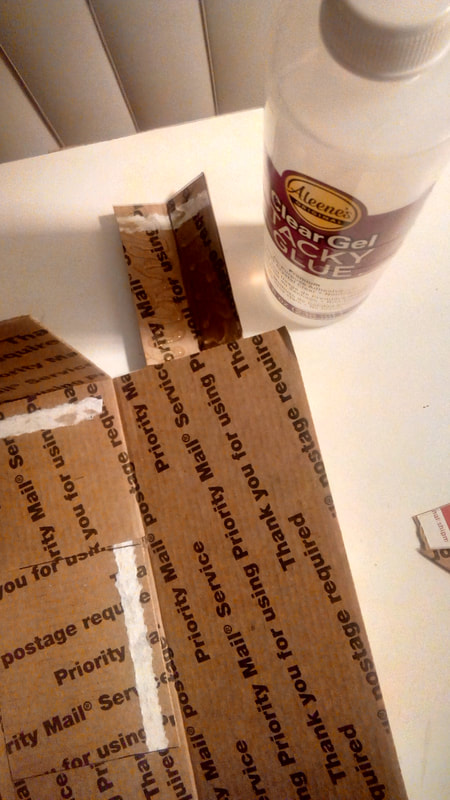 With the remainder piece of box cut the square in half. Then create folds in both pieces to create corner joints. Apply glue to the corner piece. 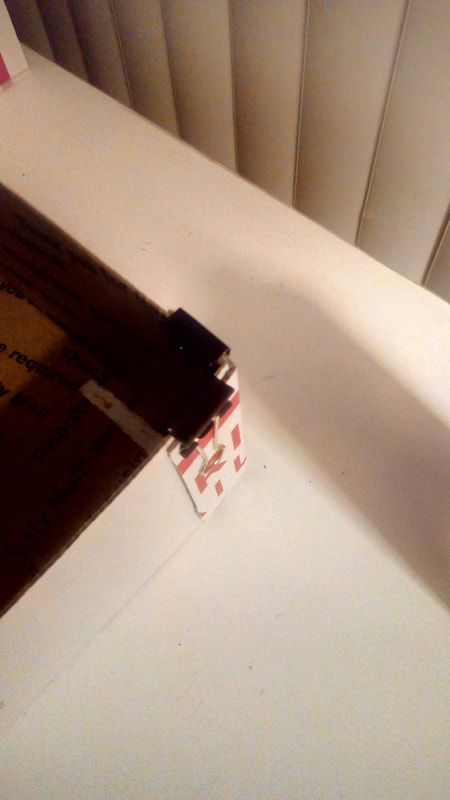 Adhere into place and clamp into place.  Repeat for the inner corner wall. Clamp everything into place & allow to dry completely. Stay tuned for part two! this is a work in progressI'm also creating dungeon in a box using a large square scrapbook box. Leaving the outside with it's pretty decoration but creating walls & chamber on the inside of the box. So I can just stack & store them in plain site.
0 Comments
Leave a Reply. |
Miss KRisFrom time to time I just like to play in the studio. Since the studio is not open to the public, I thought we could create something together here! Archives
September 2018
Categories |
 RSS Feed
