|
I recommend investing in an artisan set of micro paint brushes to be used exclusively for painting miniatures. 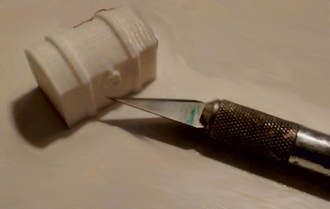 Using a 2" long blade hobby knife, slice into the resin to create "grain" into what will be the wooden areas of the casting resin chest. Why the long blade? Because the blade is also a bit thicker then a standard blade, makes it stronger when cutting into the resin. 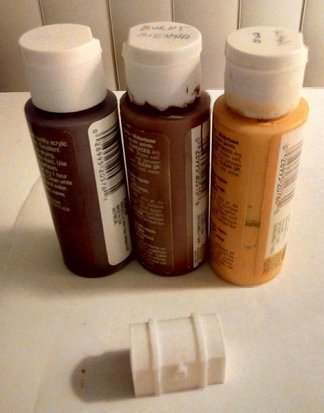 Cover your work surface with wax paper kids, we're going to paint! Choose dark, medium & light colors for the wooden areas of the trunk. I'm using Chocolate Brown, Burnt Sienna & King's Gold pigmented acrylic paints. 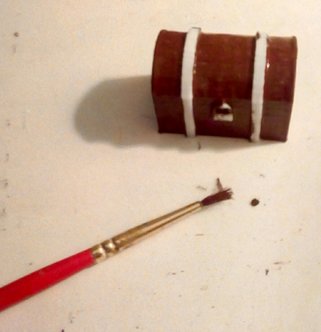 Using a micro round brush and following the grain, apply the dark color to the trunk. Allow to dry completely. 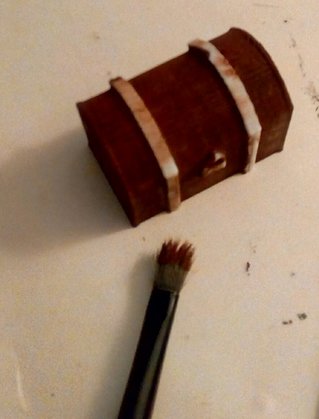 Using a stiff flat brush & dobbing on paper toweling, dry brush on the medium color. Again with the grain & leave the dark color in the deep cuts. Allow to dry completely. 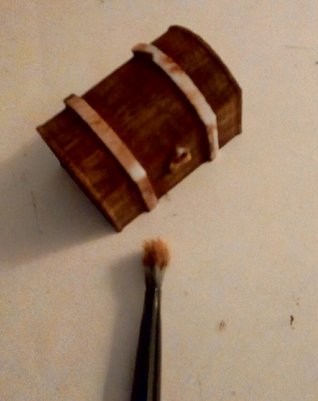 Also using the stiff flat brush & dobbing on paper toweling, dry brush the light color. Again with the grain & just adding a minimal amount of color to highlight the grain. Allow to dry completely. 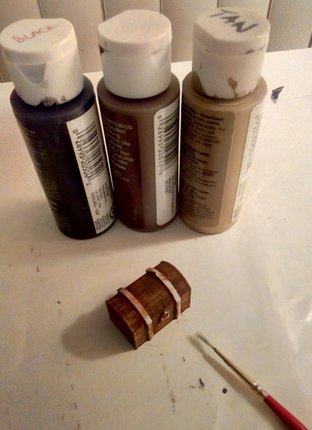 Choose dark, medium & light colors for the chest straps. I'm using Black, Brown Oxide & Tan. 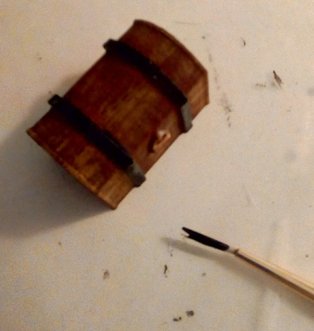 Using a micro linear brush apply the dark color to the chest straps. Allow to dry completely. 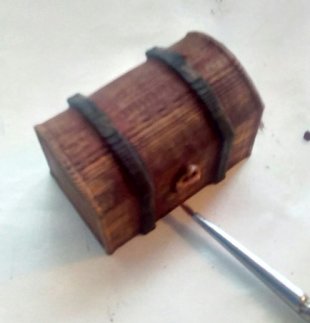 Using a micro spotter brush & dobbing on paper toweling, drybrush the medium color onto the straps raking against the texture. Allow to dry completely. 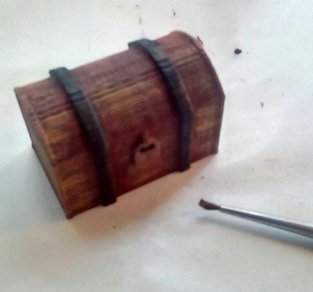 Again using the micro spotter brush & dobbing on paper toweling, drybrush the light color onto the straps raking against the texture. Allow to dry completely. 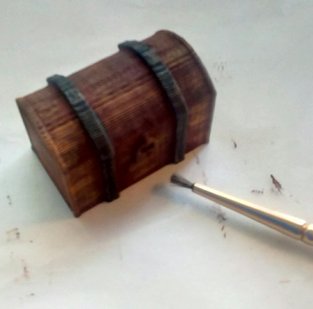 Again using the micro spotter brush, paint the padlock using the medium color. Allow to dry completely. 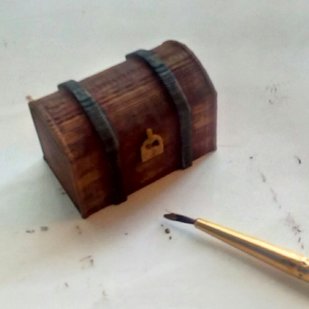 Using a micro short liner brush, paint the padlock & rear hinges using a metallic acrylic color. I'm using 10k Gold leaf infused acrylic paint. It's filled with gold flakes which upon drying will separate allowing the medium color to show through giving it an aged finish. Allow to dry completely. 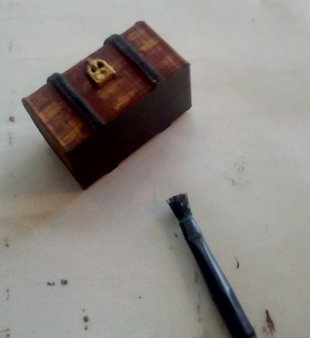 Bottoms UP! I prefer to paint the bottoms of my rpg miniatures jet black. That's just me...feel free to paint them whatever color you wish. Use a micro flat brush to paint the bottom using long paint strokes. Allow to dry completely. *I recommend at least an hour extra to make sure everything is completely dry. 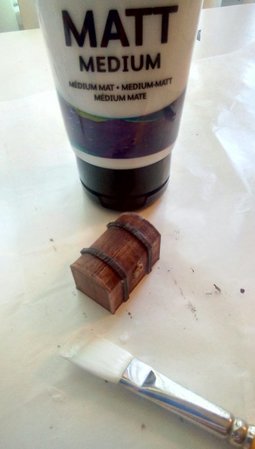 Using a soft glazing brush, paint a thin layer of Matt Medium over the entire piece. I don't recommend sprays as they can have chemical reactions to the pigmented & metallic paints as well as can cause the resin to "sweat". The medium goes on milky white & dries clear. Don't pour it on...all you need is a thin layer to protect all of you work! Allow to dry completely, roughly 2-3 hours. 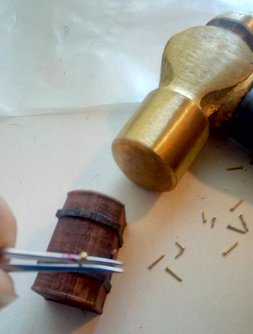 Minor Details! Well the straps aren't just hanging there, right? They've got to be attached somehow. Perhaps magically? If so, then you may stop here. However, historically they were nailed on. Taking micro brass nails, tweezer to hold & a miniature hammer to drive them into the chest straps. Or just use a paint pen! 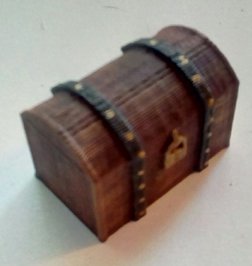 Painted Treasure Chest ready for a Rogue to open! ;)
0 Comments
I recommend investing in a metal jeweler's ruler as one side will have inches, while the other side will have millimeters. Perfect for creating miniatures for gaming! Most tabletop gaming is measured in millimeters. 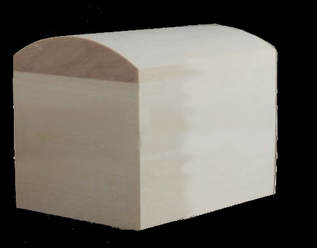 Using wood glue attach 10mm wide half-round basswood trim to a 10mm x 15mm basswood strip, both with a 20mm length. Allow the glue to dry completely. 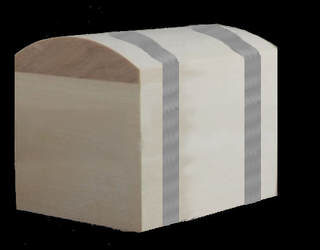 Using duct tape adhere thin strips up the back, around the rounded top & down the front of the wooden piece. NOT on the bottom, leave that flat. Here I'm using standard duct tape. 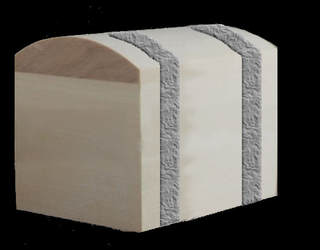 Repeat by putting another layer of duct tape allowing it to wrinkle a bit. Here I'm using a rougher woven duct tape. 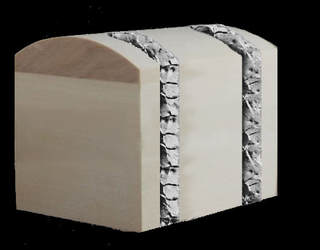 Repeat by putting another layer of duct tape allowing it to wrinkle again. Here I'm using a textured artisan duct tape.  Using layers of duct tape again & a piece of clip art. I've used micro scissors & micro hole punches to cut out a sticky padlock. Google has plenty of padlock clip art to choose from! If you can find a Quarter Scale padlock, glue that to the front with strong bond glue. 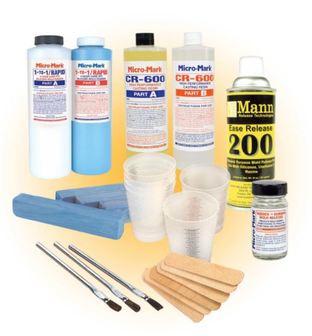 1) Put the clean clay into a plastic bowl. I use those Glad storage containers. 2) Press the bottom of the wooden chest into the clay. 3) Brush the chest with mold release. 4) Mix the Rapid Mold Rubber Part A & B together & pour over the chest. Completely covering it. 5) Allow to set completely. I usually give it a few extra hours or overnight though, so I can get more pieces out of my molds. 6) Remove the rubber mold from the plastic tub & gently negotiate the wooden trunk out of the mold. 7) Mix Part A & B of the CR-600 Resin. 8) Spray into the mold with the Easy Release. 9) Pour the resin mix it into the rubber mold. 10) Allow the resin to completely set, at least 30 minutes. I usually give it at least a full hour. 11) Gently remove the resin chest from the mold. 12) Wipe clean of any mold release residue. 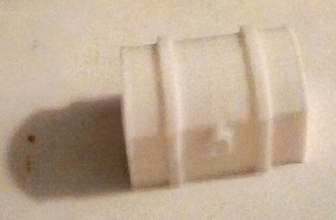 This is mine fresh from the mold. I expect to get 10-12 perfect chests & then another few chests with character out of this mold. ;) #LOL
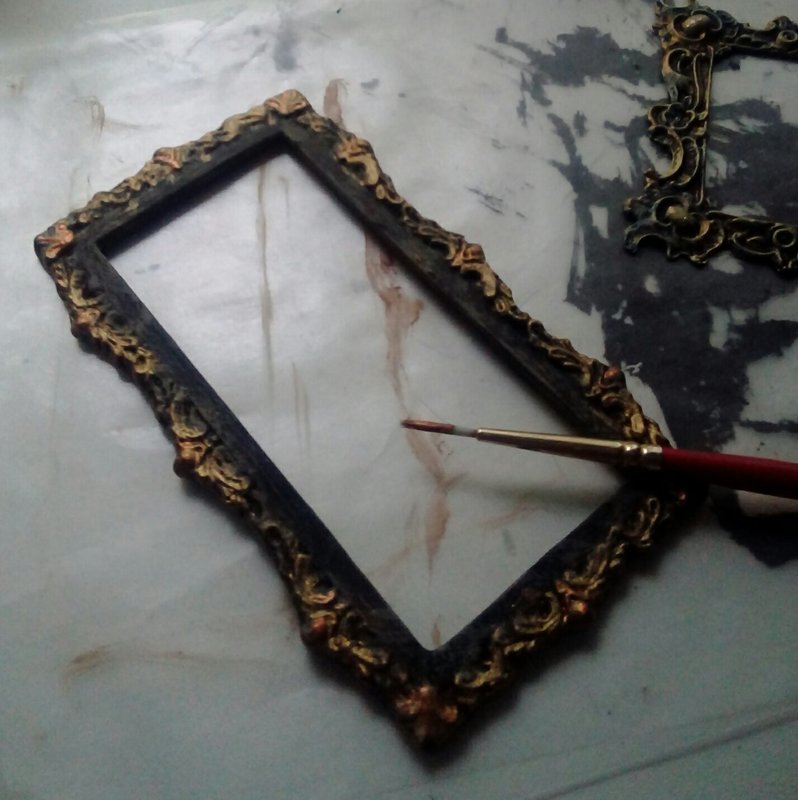
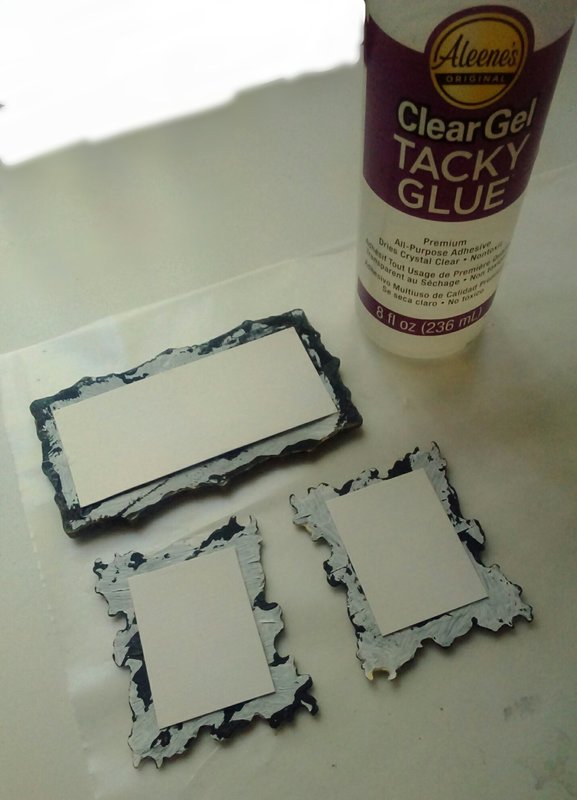
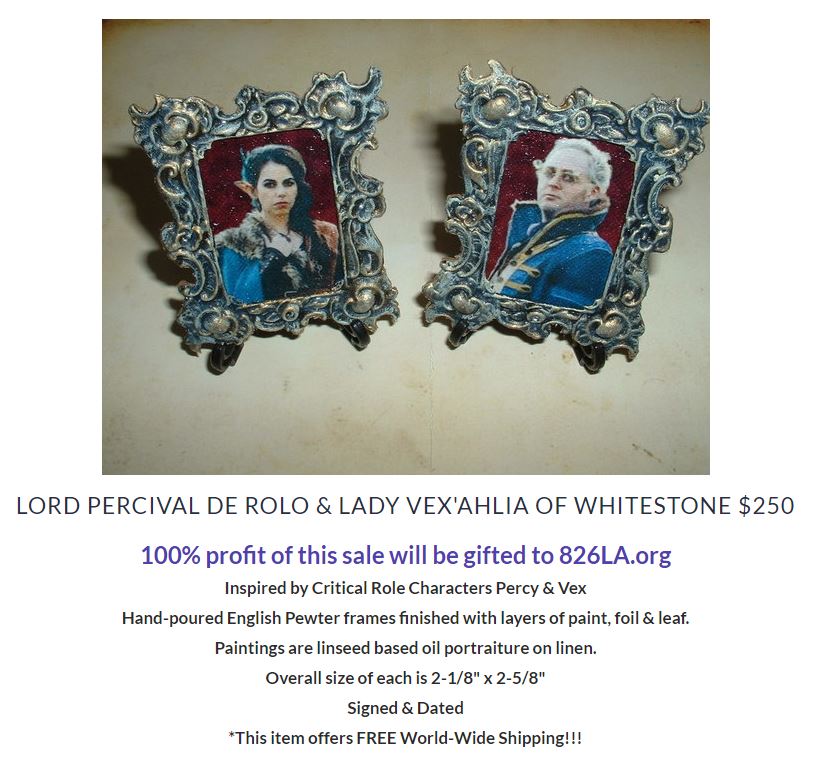
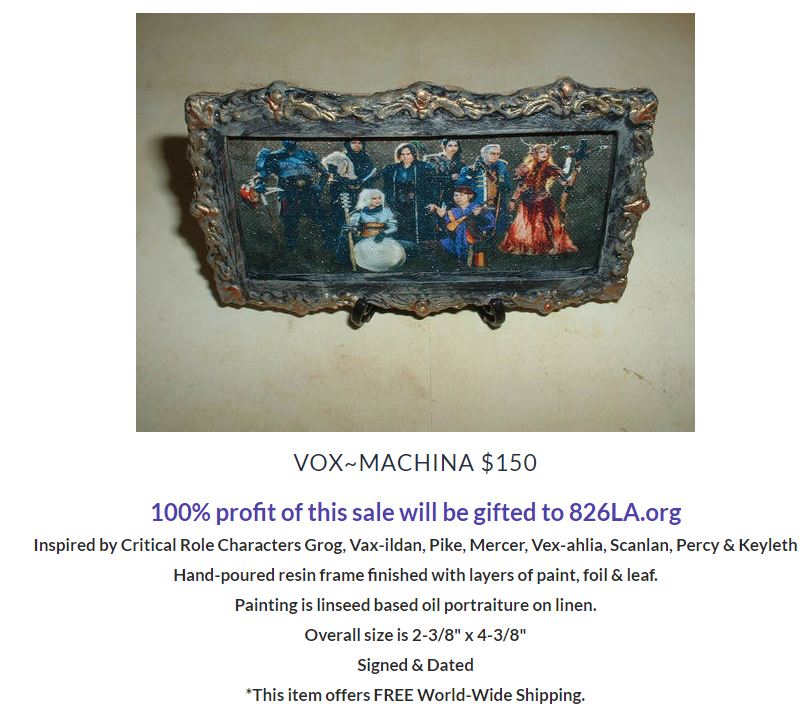
*If you can't afford to invest in "mold making" supplies which yes, can be a bit costly. Feel free to purchase unpainted miniatures & use the painting technique in the part 2 of this class! :) I developed this sculpting technique nearly immediately after receiving a glue gun when I was 12 years old. This technique is utilized in both of my books & I still utilize this form of sculpture today for many items in my inventory! 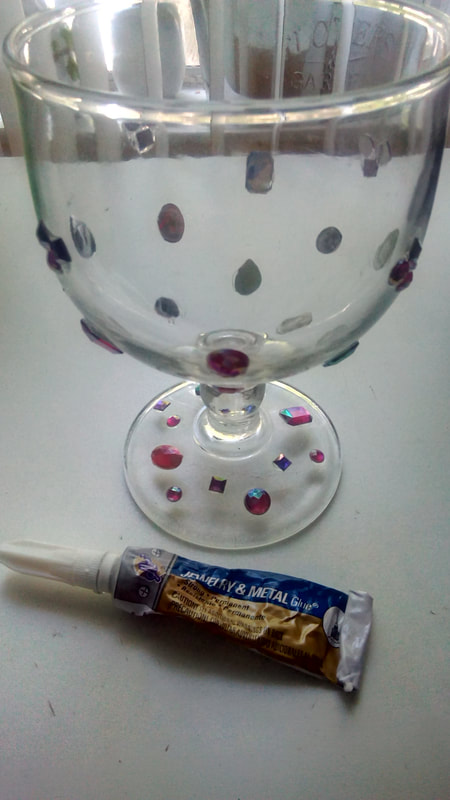 Feel free to use a dollar store glass but make sure it is THICK you don't want to use a think fragile goblet. This one is 3/16" thick...I got it at an overstock store for literally 3¢! Using jeweler's adhesive and Swarovski flat back crystals (DO NOT USE PLASTIC STONES). Glass jewels will also work! Adhere the stones to the goblet & base of the chalice. Feel free to also glue them to the stem as well. Allow to dry completely, overnight!!! 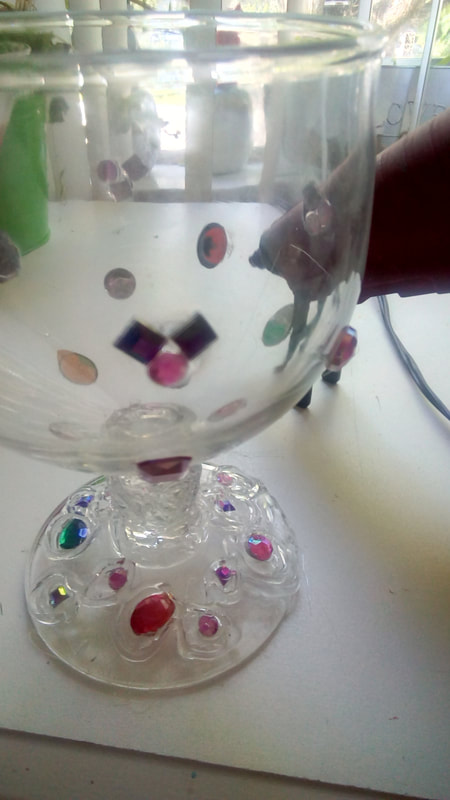 Set your glue gun to LOW heat setting. Begin creating rings of glue around each of the jewels on the base only. Allow glue to cool completely. 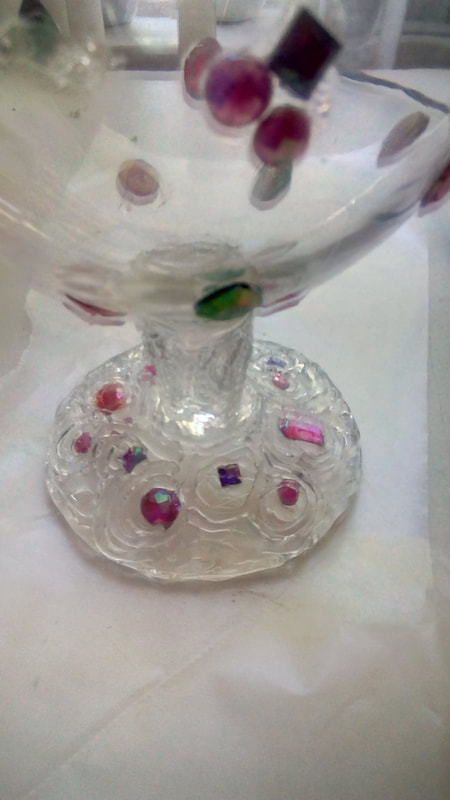 Continue creating rings of glue around each jewel on the base & begin spiraling up the stem. Until the glass is covered with the hot glue rings. Allow glue to cool completely. 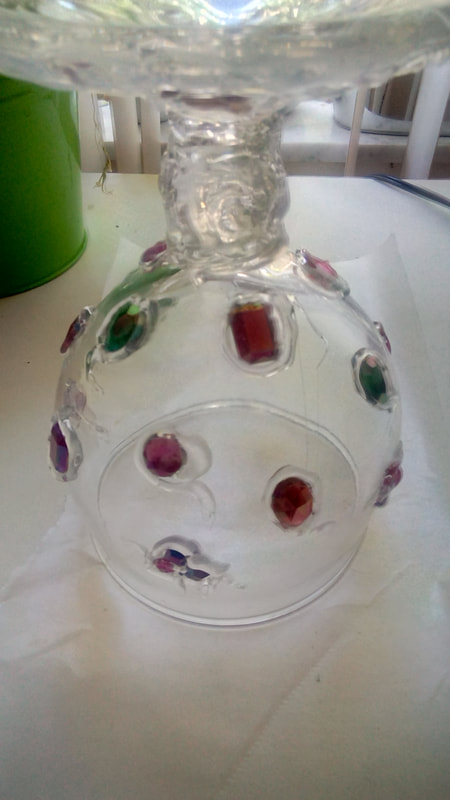 Turn the glass upside down & repeat this technique around the jewels on the goblet. Allow glue to cool completely. 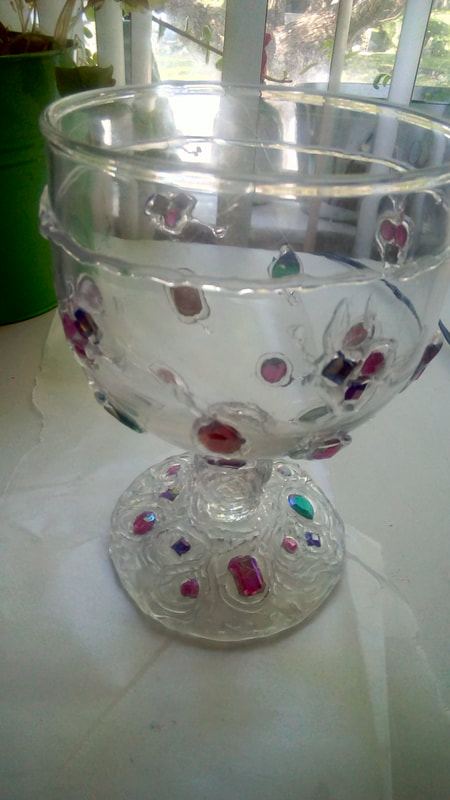 You don't want the sculpted area to be up to the lip of the goblet so create a glue line around the goblet about a 1/2"-3/4" down from the lip of the goblet. Allow glue to cool completely. 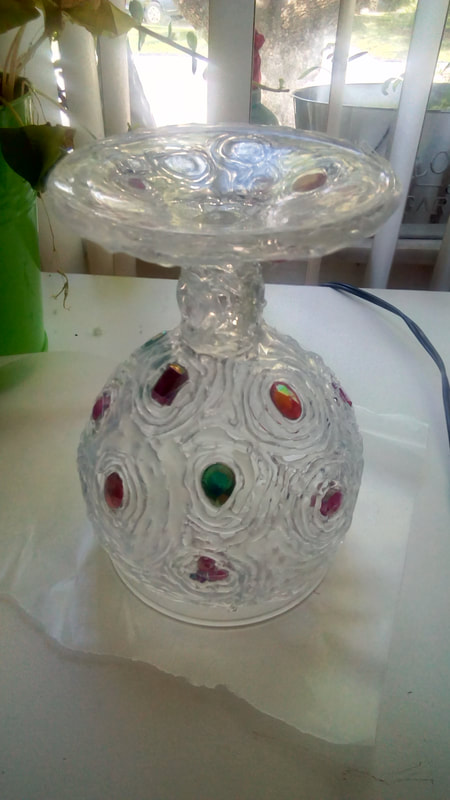 Continue applying the rings of hot glue around the jewels until the goblet up to that previous line is covered. Also apply the hot glue to the bottom of the base along the edges just to anchor the design. Allow glue to cool completely. 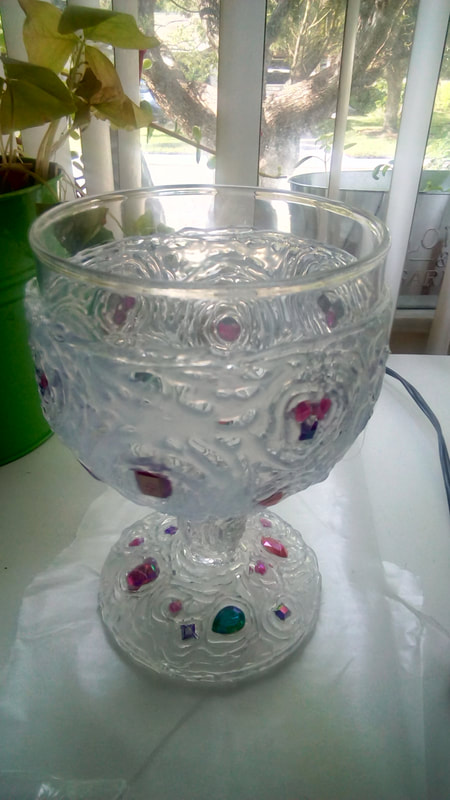 Remove any of those hot glue string-ies that always happen during the process. 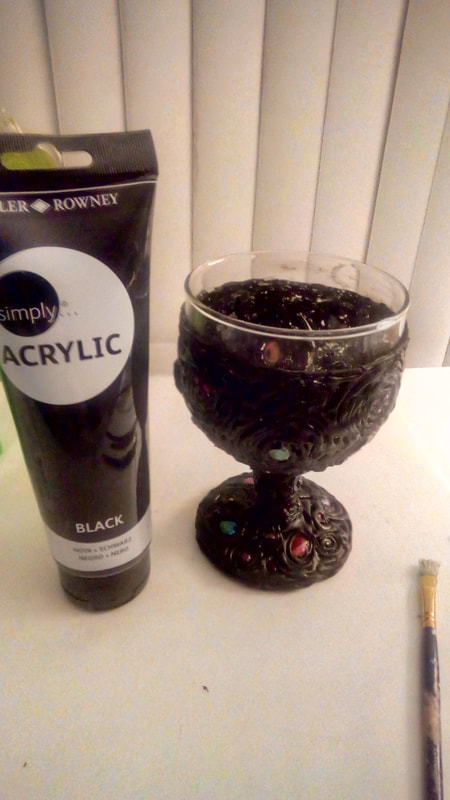 Using Black Acrylic Paint cover all the hot glue areas using a soft brush to get into all the nooks & crannies. If paint gets onto the jewels, don't panic just use a wet cotton swab to clean the paint off! Allow paint to dry completely. 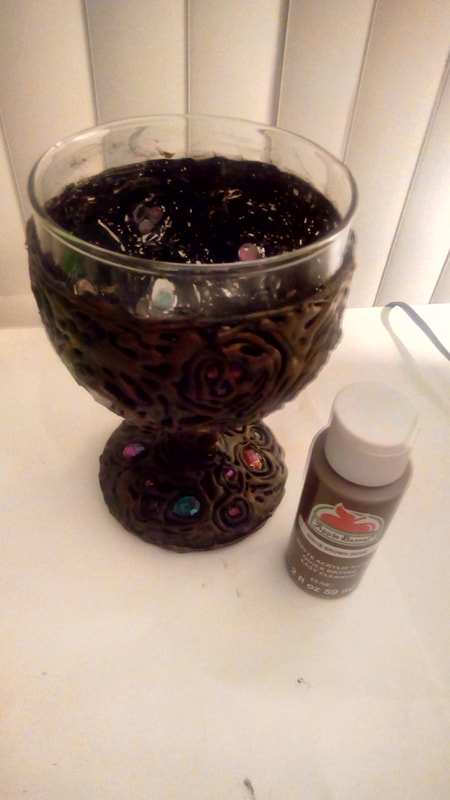 Using Brown Paint mixed with Acrylic Matte Medium using a semi-stiff brush, DRY brush the brown over the black. Focus on leaving a lot of the black paint showing in all the deep areas of the glue sculpture. If paint gets onto the jewels, don't panic just use a wet cotton swab to clean the paint off! Allow paint to dry completely. 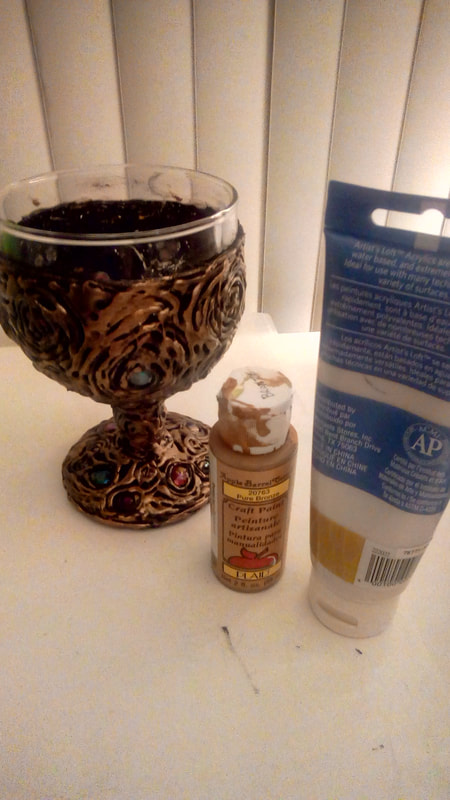 Using Bronze Paint mixed with Acrylic Irridescent Medium, again with a semi-stiff brush. DRY brush over the glue sculpture. Focus on leaving the black & brown paint is the deep & mid areas of the sculpture. You should see three colors, roughly 1/3 each of coverage. Deep Areas:Black Mid Areas: Brown Ridge Areas: Bronze If paint gets onto the jewels, don't panic just use a wet cotton swab to clean the paint off! Allow paint to dry completely. 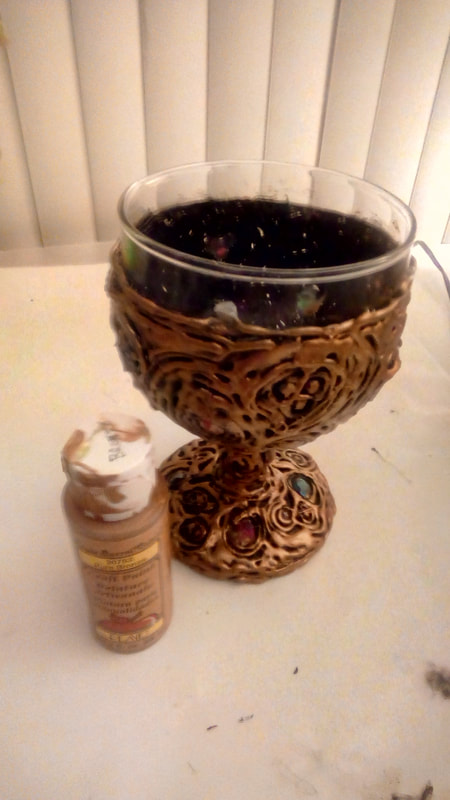 Using Bronze Paint mixed with Acrylic Matte Medium, with a STIFF brush. Dry brush over the ridges of the sculpture. Just catching all the veining to create a shimmering finish. Use it sparingly. If paint gets onto the jewels, don't panic just use a wet cotton swab to clean the paint off! Allow paint to dry completely. 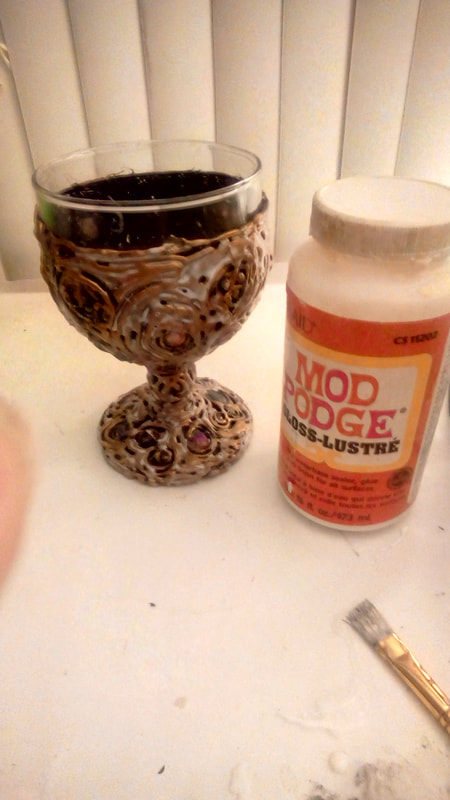 Using Gloss Lustre and a soft brush cover all of the painted areas. Make sure to get into all those nooks & crannies. Allow this to dry completely, overnight!!! 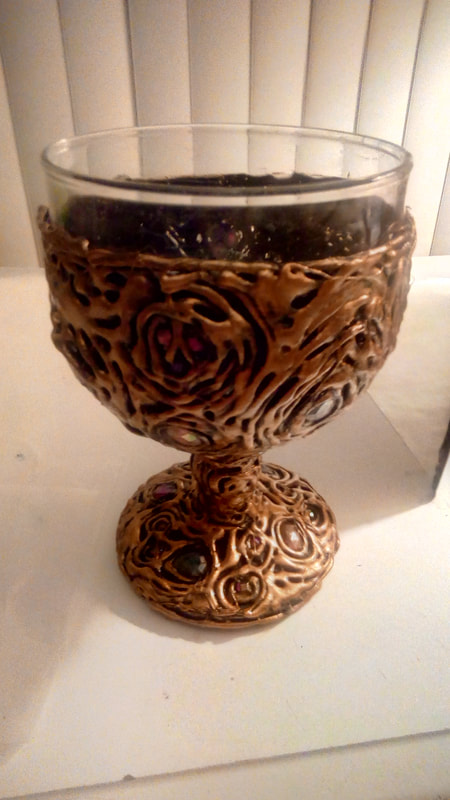 Wipe off any stray paint on the exposed glass. Obviously you CANNOT clean this goblet in the dishwasher. Hand-Wash Only! 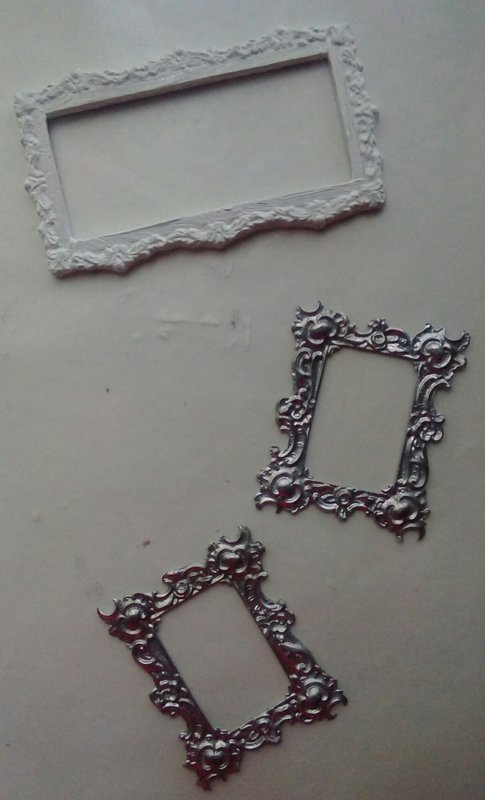 I recommend Micromark Casting Sets for both Resin & Metal. I will be showing that it matters little which material you prefer to use. This is English Crown Pewter & Plaster Resin removed from their molds. The originals were sculpted clay frames that were then used to create molds using materials found in the casting sets suggested above. 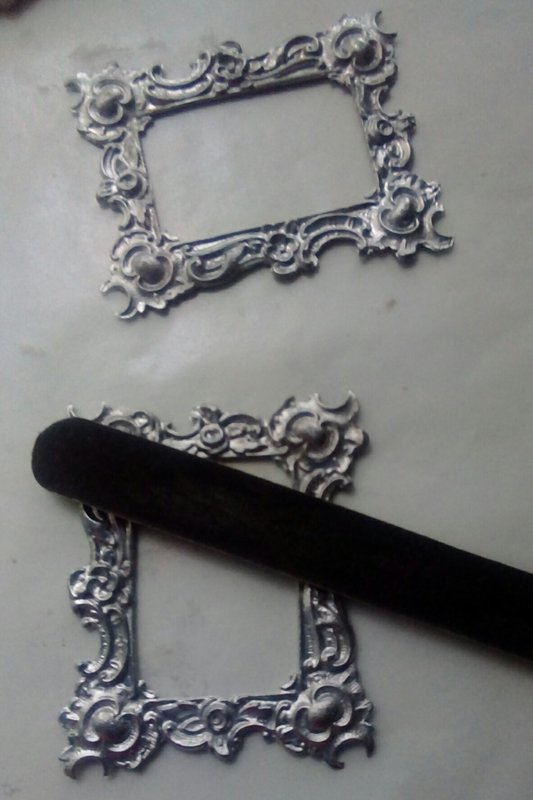 Using an emery board NOT A FILE to remove any nubbons or over-poured edges. It's important to be delicate here...a file will scratch & gouge the design. 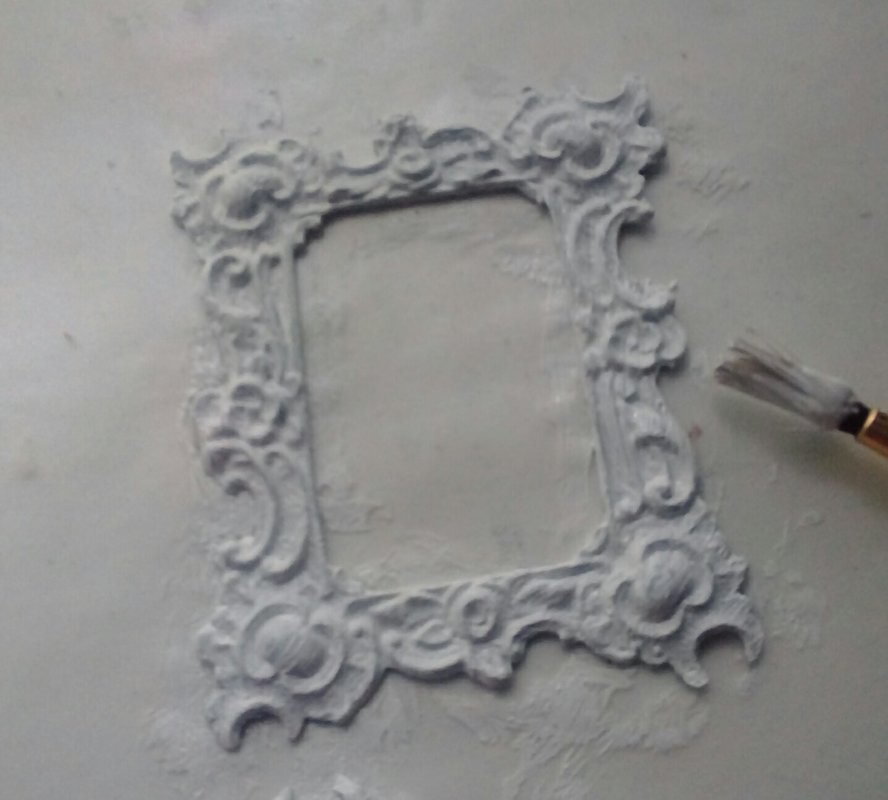 For the Pewter: Use acrylic (not latex) primer over the entire frame both sides, front-back & into the design. The painting steps need something to stick to! For the Resin: Straight out of the mold is fine. *Note: I'm using plaster resin which is plaster recipe on tub but instead of using water, I used resin.  ANY COLORS, literally. Can be coordinates, compliments, primary...doesn't matter. Waterbase Paints. You will need: A Dark (I'm using Black for both) A Medium (I'm using Navy -pewter & Brown -resin) A Light (I'm using Soft Yellow -pewter & Tan -resin) A Foil (I'm using Gold for both) A Leaf (I'm using Silver -pewter & Copper -resin) 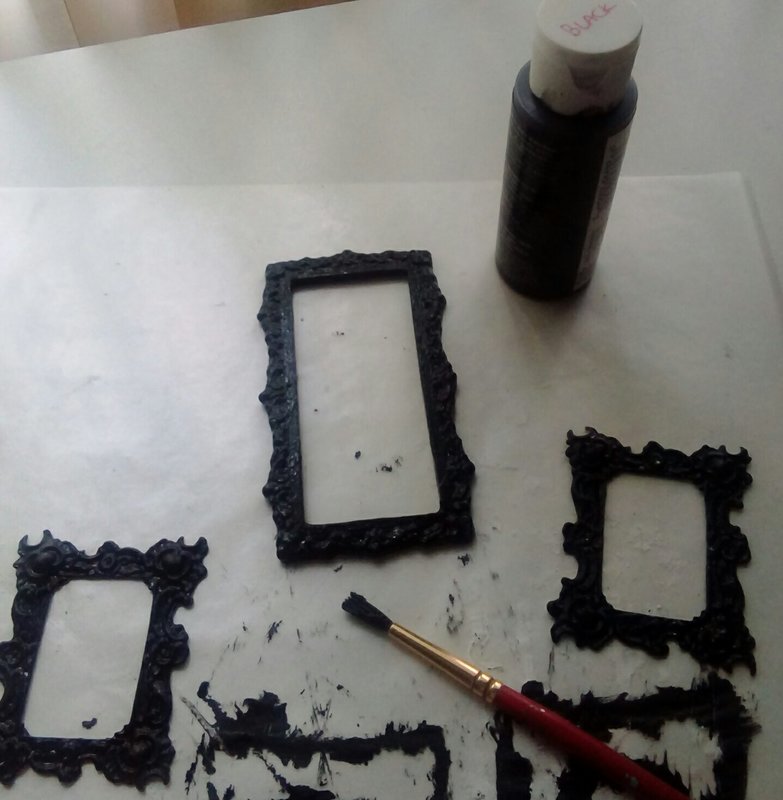 Paint entire front of the frame with the DARK color using a soft paintbrush to get into all the details. You may need more then 1 coat to cover all the primer. 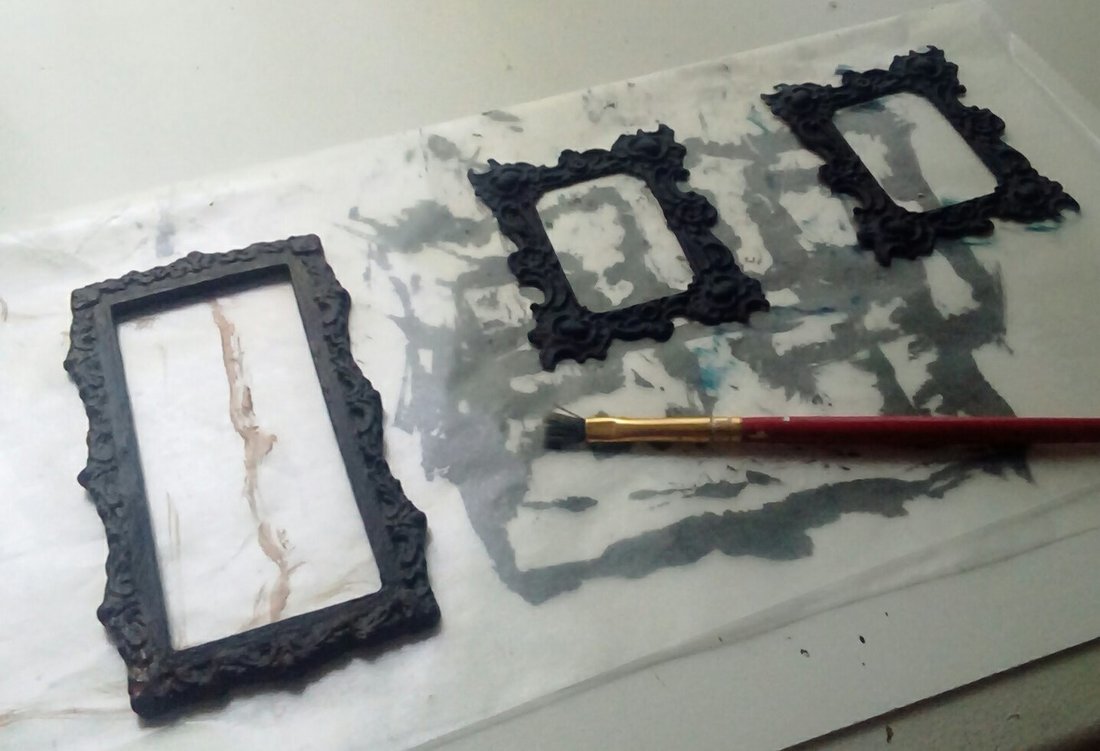 Using a standard brush, dry brush the frames with the MEDIUM color. *Leaving the DARK color showing in all deep parts of the design. 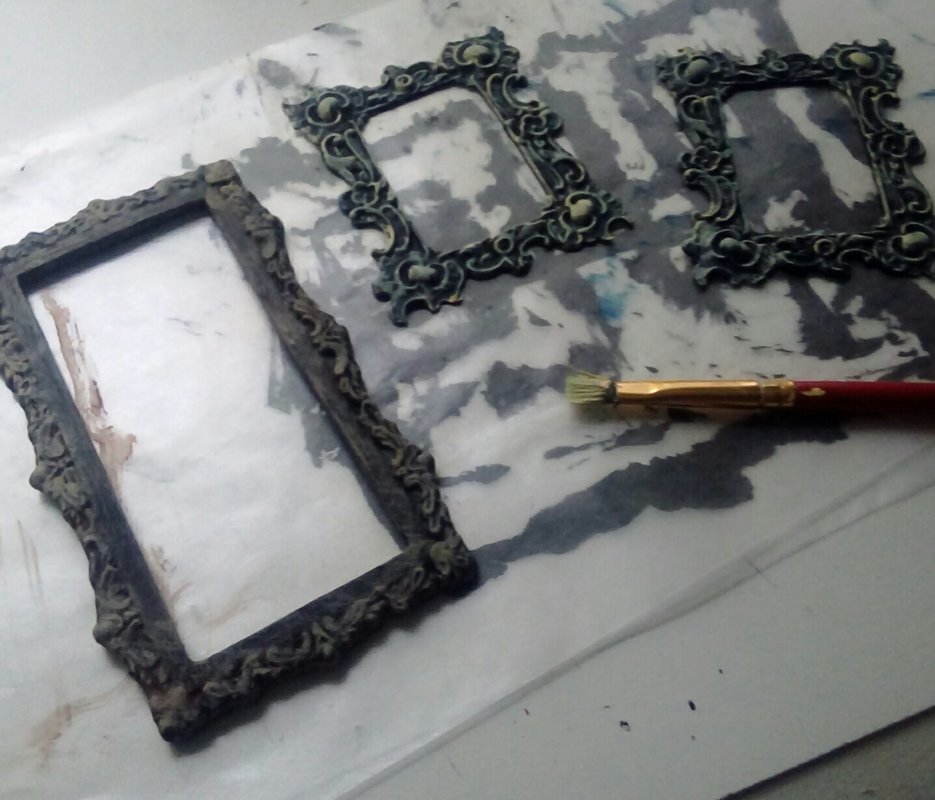 Using a medium stiff brush, dry brush the frames with the LIGHT color. Again leaving now the DARK & MEDIUM colors peeking through the design. 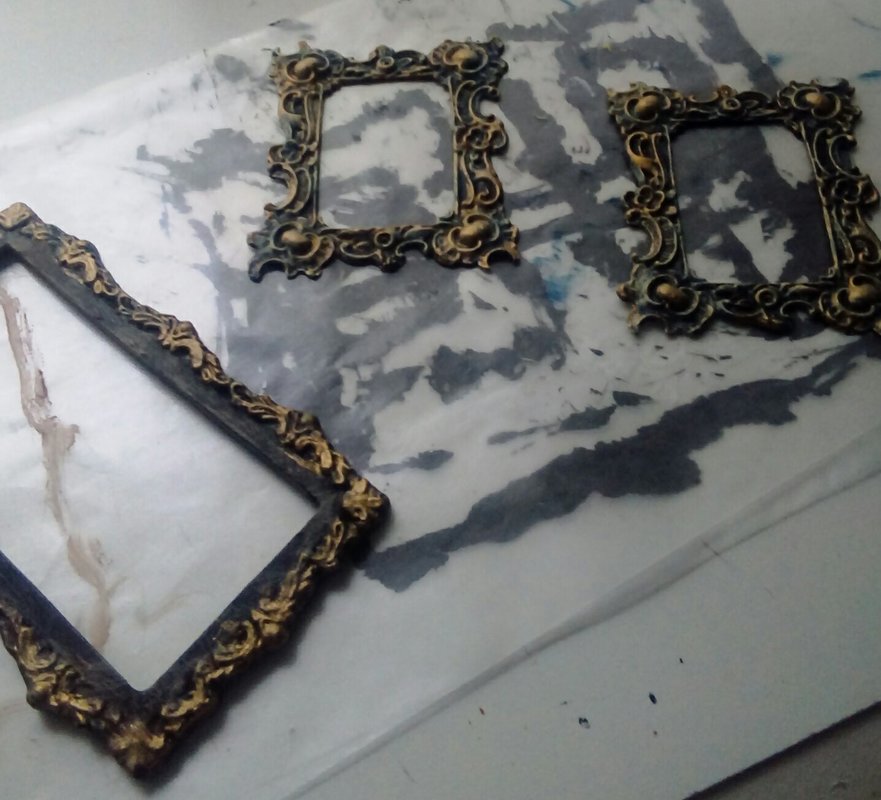 Using a stiff brush, dry brush across the top details of the design using the FOIL color. *It's not meant to be a layer of paint, just to catch & highlight details.
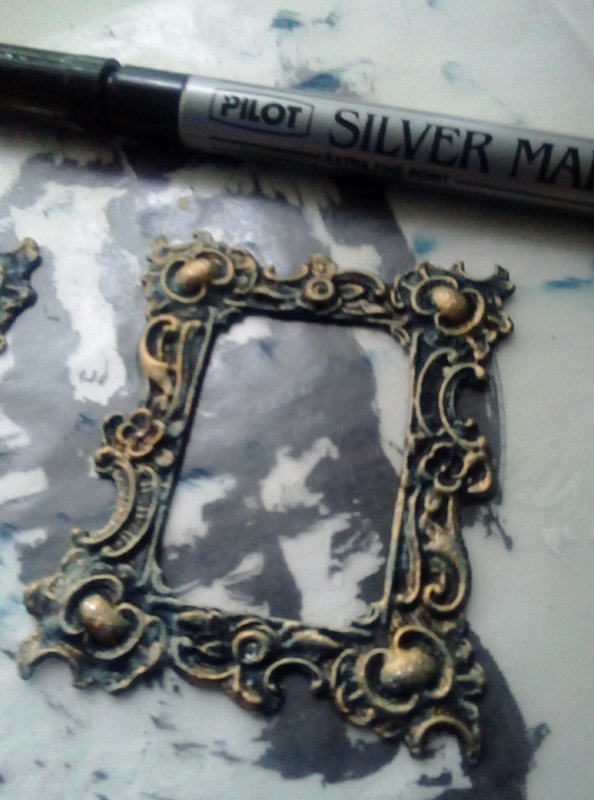
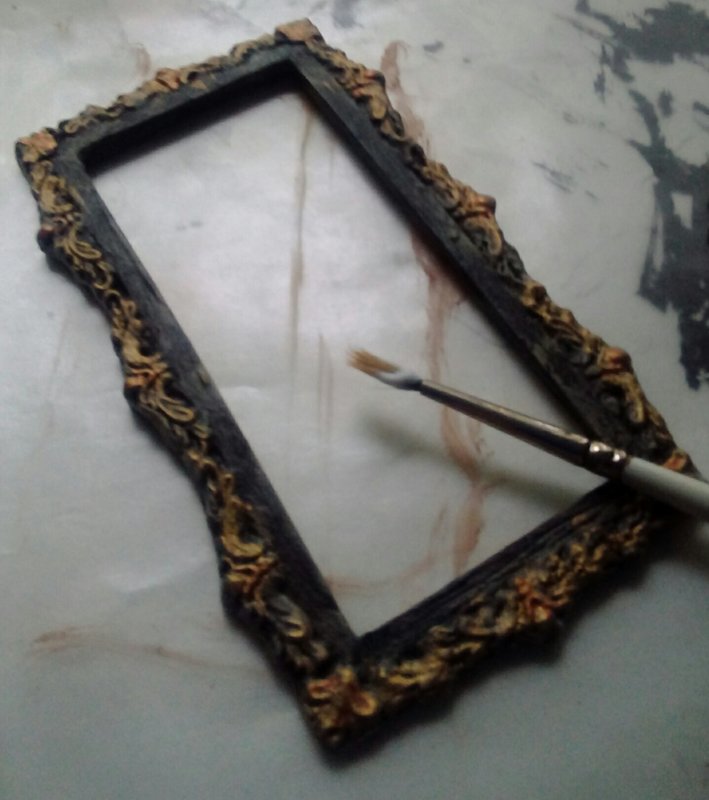 Sealing: DO NOT USE SPRAY SEALANTS, in this instance as they can have a chemical reaction to his particular painting method. You want to stay in the same mediums, so either acrylic based or water based. I'm using Acrylic Medium Matte. Using a super soft brush & very thin layer, as to avoid creating brush strokes or clumping. 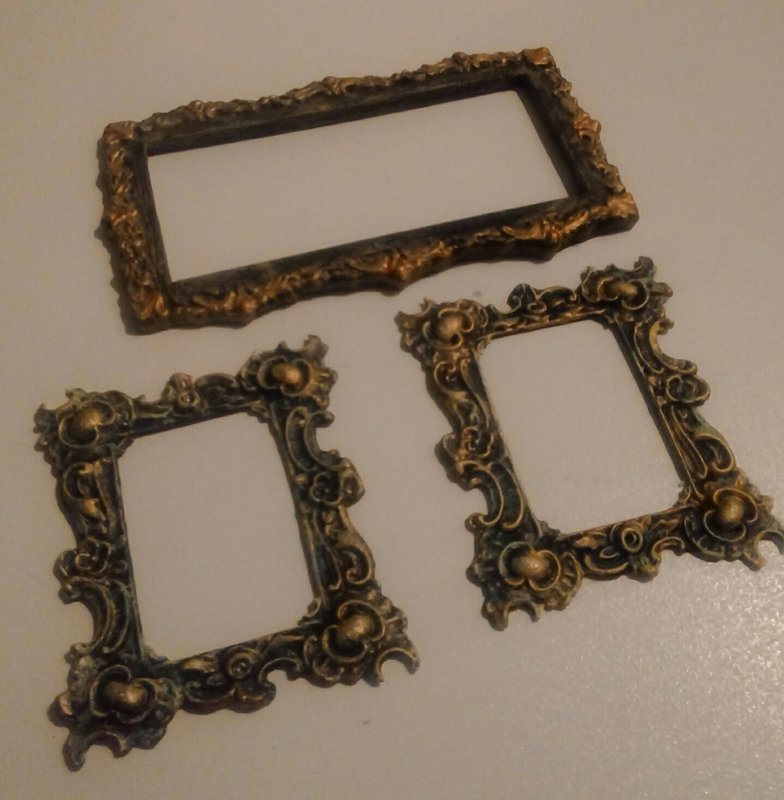 Finished Frames!
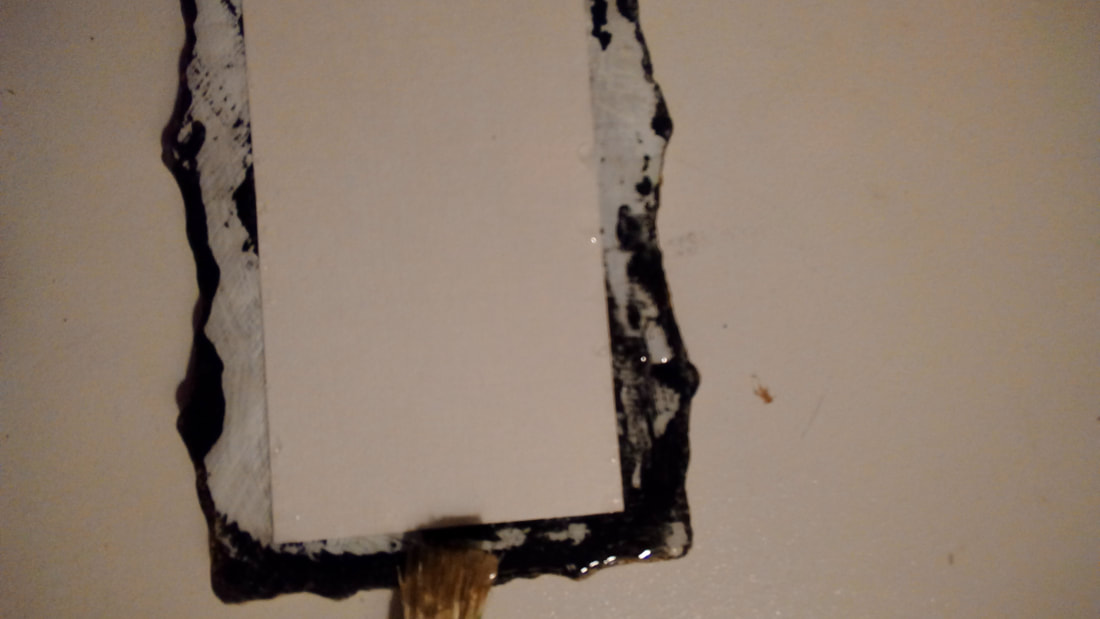
Note: For miniature oil paintings, I choose to paint on linen that has gesso on both sides to make it stiff but leaving the woven texture on the canvas side. I find artisan canvas to be too thick & weighty for miniature frames. Many artist create their miniature artwork on ivory or bone but I'm a Vegan & have never used animal parts in any aspect of my art. #GoVegan! ;)  Backing: I use gallery kraft paper or if you're on a budget a paper bag works just fine too. Moving paper is a little too thick for miniature frames...it can bend a frame during the adhesive drying process.  Same ClearGel Ahesive using a stiff paintbrush cover the exposed rear of the frame, all the way to the edges but try to keep adhesive off your artwork. Turn your frame (so you can see your work) press all around the frame using your fingers to stick it to the backing paper. Rest a book over-top of them & leave to dry for 16 uninterrupted hours. 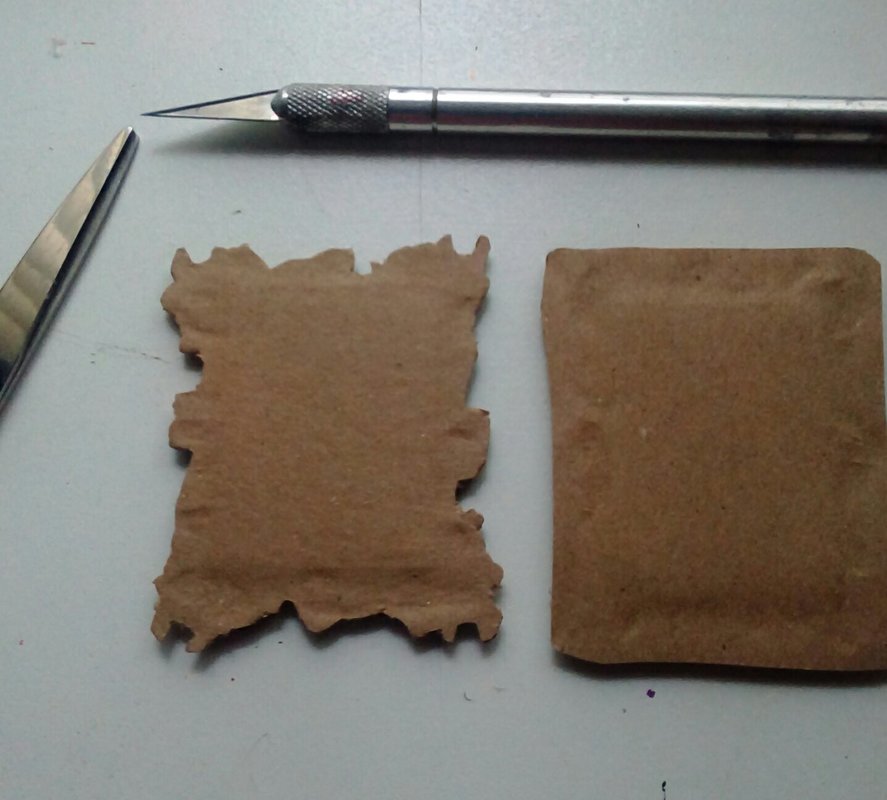 Using tiny scissors & a hobby knife remove excess backing paper. You want the entire rear of the piece to be covered but you should see any of the backing from the front of your framed artwork. I sign my work obviously but also sign & date the backing of each frame. You can also use an artisan stamp or brand at this point to finish. As part of value of your artwork is the original frame. It should never be an after thought, you should always consider the frame as part of the value. Consequently devalue a piece if the owner has re-framed a piece without your assistance.
|
Miss KRisFrom time to time I just like to play in the studio. Since the studio is not open to the public, I thought we could create something together here! Archives
September 2018
Categories |
 RSS Feed
