|
I recommend investing in an artisan set of micro paint brushes to be used exclusively for painting miniatures. 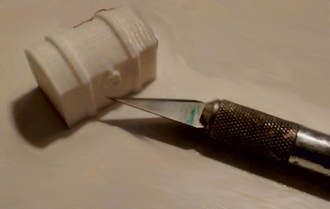 Using a 2" long blade hobby knife, slice into the resin to create "grain" into what will be the wooden areas of the casting resin chest. Why the long blade? Because the blade is also a bit thicker then a standard blade, makes it stronger when cutting into the resin. 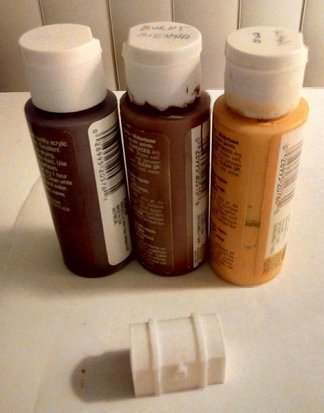 Cover your work surface with wax paper kids, we're going to paint! Choose dark, medium & light colors for the wooden areas of the trunk. I'm using Chocolate Brown, Burnt Sienna & King's Gold pigmented acrylic paints. 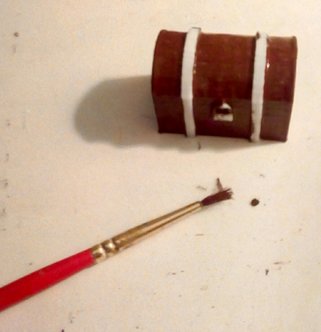 Using a micro round brush and following the grain, apply the dark color to the trunk. Allow to dry completely. 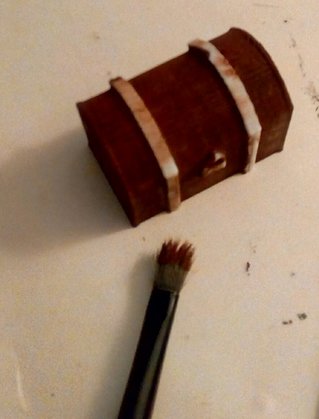 Using a stiff flat brush & dobbing on paper toweling, dry brush on the medium color. Again with the grain & leave the dark color in the deep cuts. Allow to dry completely. 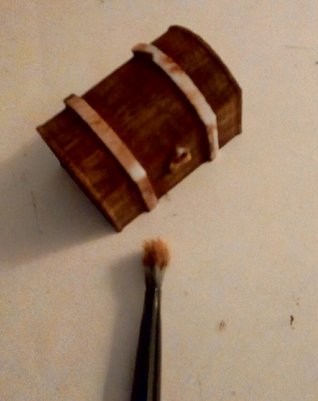 Also using the stiff flat brush & dobbing on paper toweling, dry brush the light color. Again with the grain & just adding a minimal amount of color to highlight the grain. Allow to dry completely. 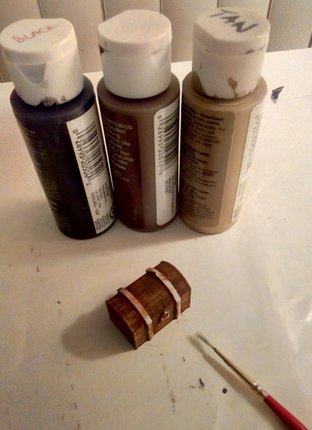 Choose dark, medium & light colors for the chest straps. I'm using Black, Brown Oxide & Tan. 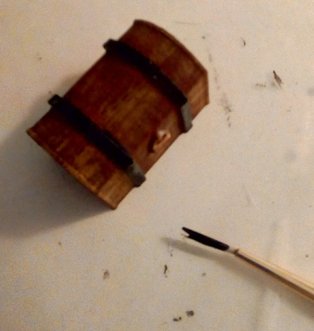 Using a micro linear brush apply the dark color to the chest straps. Allow to dry completely. 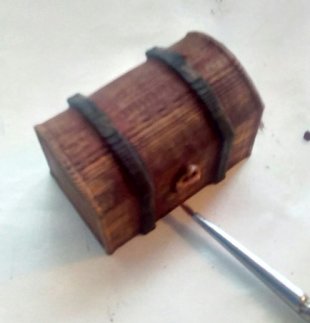 Using a micro spotter brush & dobbing on paper toweling, drybrush the medium color onto the straps raking against the texture. Allow to dry completely. 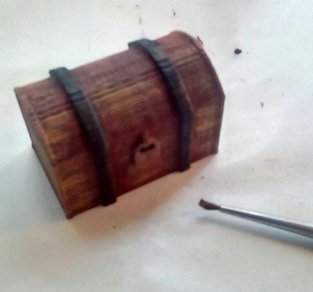 Again using the micro spotter brush & dobbing on paper toweling, drybrush the light color onto the straps raking against the texture. Allow to dry completely. 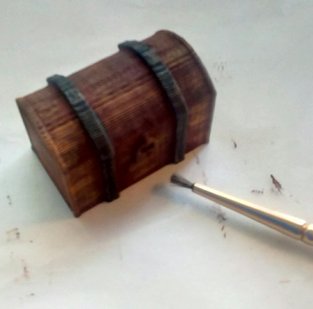 Again using the micro spotter brush, paint the padlock using the medium color. Allow to dry completely. 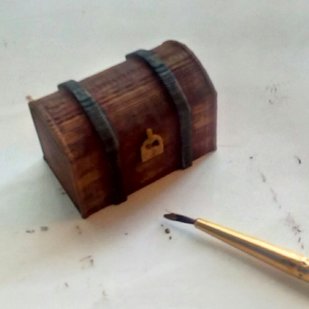 Using a micro short liner brush, paint the padlock & rear hinges using a metallic acrylic color. I'm using 10k Gold leaf infused acrylic paint. It's filled with gold flakes which upon drying will separate allowing the medium color to show through giving it an aged finish. Allow to dry completely. 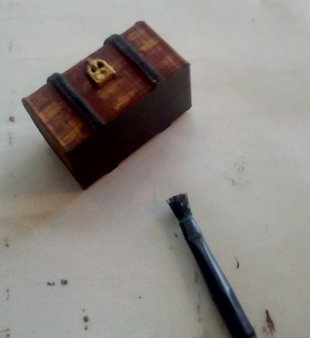 Bottoms UP! I prefer to paint the bottoms of my rpg miniatures jet black. That's just me...feel free to paint them whatever color you wish. Use a micro flat brush to paint the bottom using long paint strokes. Allow to dry completely. *I recommend at least an hour extra to make sure everything is completely dry. 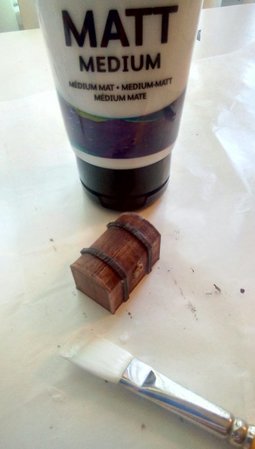 Using a soft glazing brush, paint a thin layer of Matt Medium over the entire piece. I don't recommend sprays as they can have chemical reactions to the pigmented & metallic paints as well as can cause the resin to "sweat". The medium goes on milky white & dries clear. Don't pour it on...all you need is a thin layer to protect all of you work! Allow to dry completely, roughly 2-3 hours. 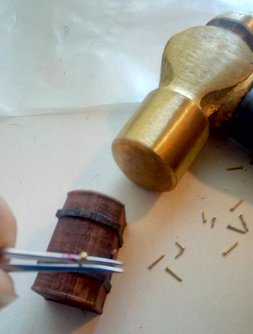 Minor Details! Well the straps aren't just hanging there, right? They've got to be attached somehow. Perhaps magically? If so, then you may stop here. However, historically they were nailed on. Taking micro brass nails, tweezer to hold & a miniature hammer to drive them into the chest straps. Or just use a paint pen! 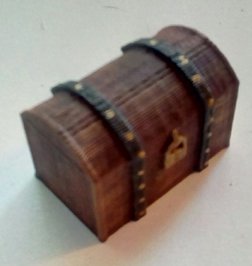 Painted Treasure Chest ready for a Rogue to open! ;)
0 Comments
Leave a Reply. |
Miss KRisFrom time to time I just like to play in the studio. Since the studio is not open to the public, I thought we could create something together here! Archives
September 2018
Categories |
 RSS Feed
